Creating a Landscape with dynamic fissures

Introduction and Planning
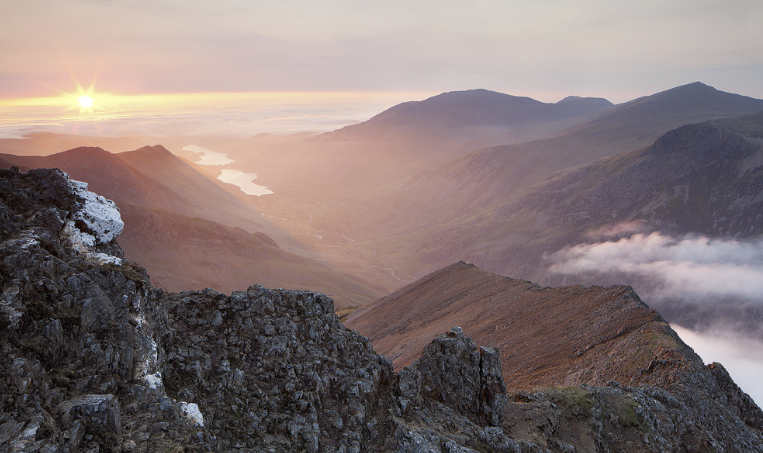
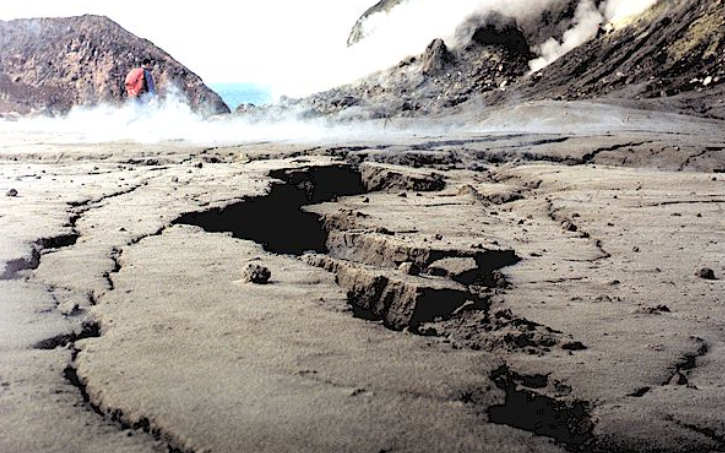
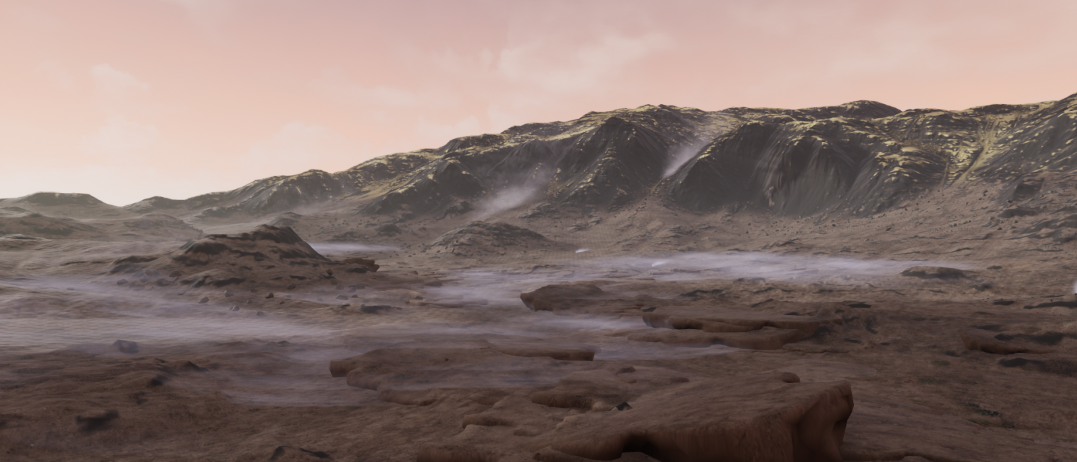
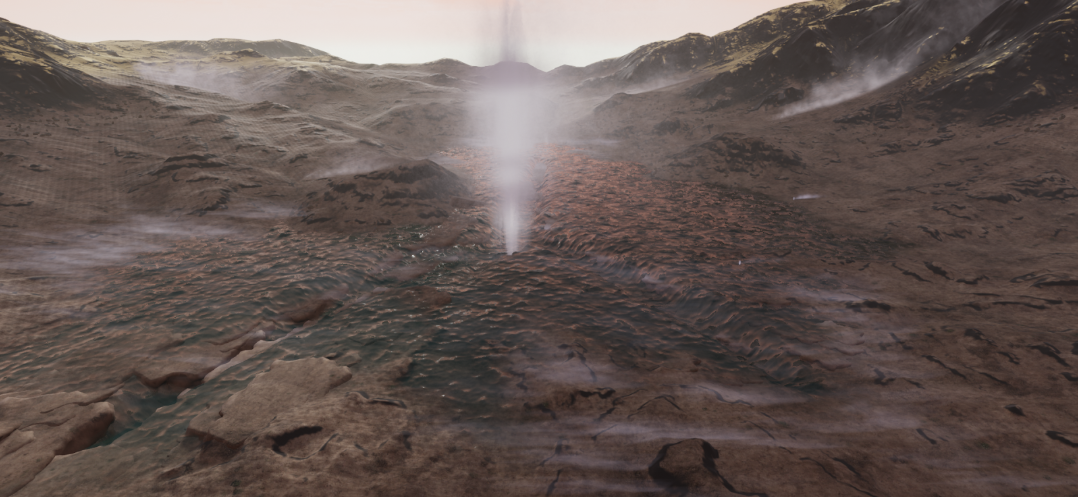
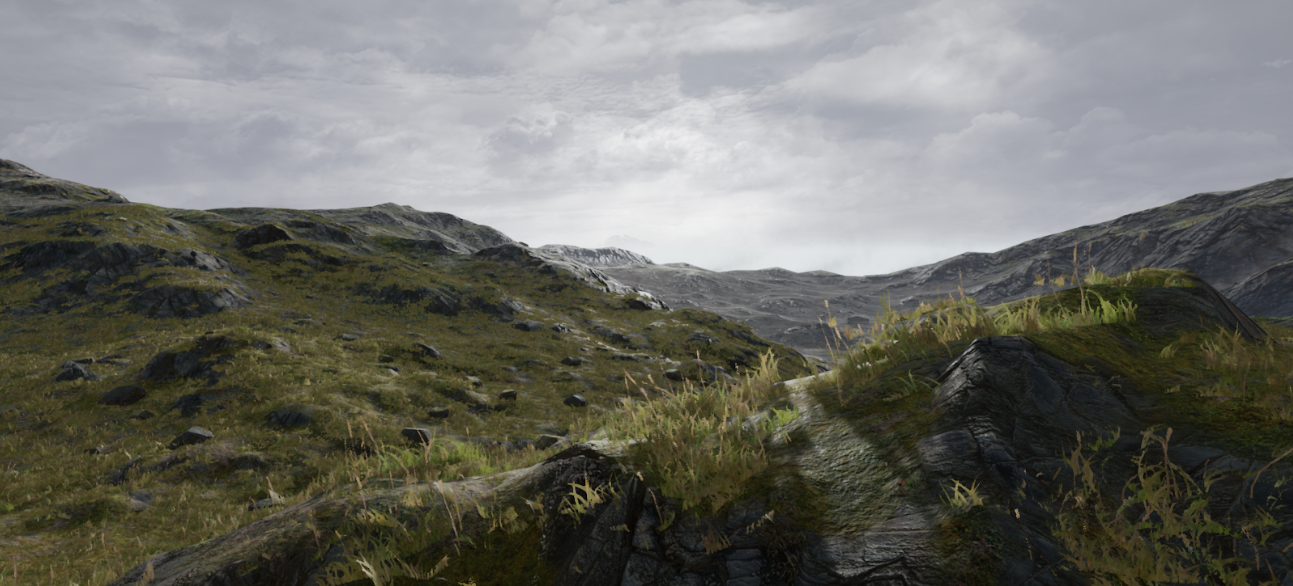
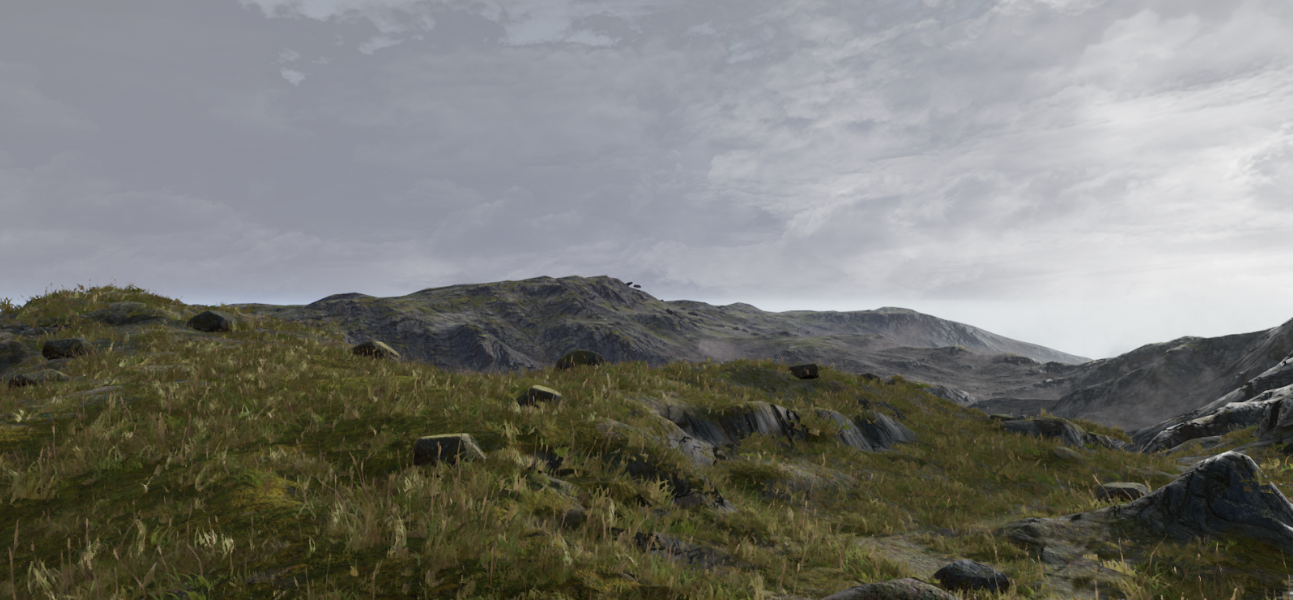
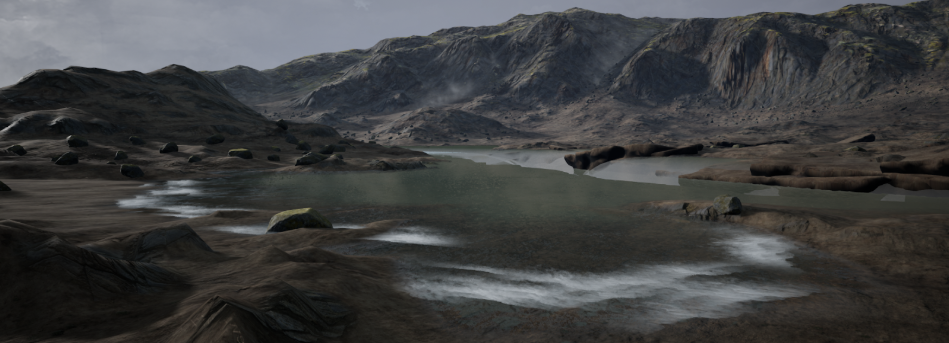
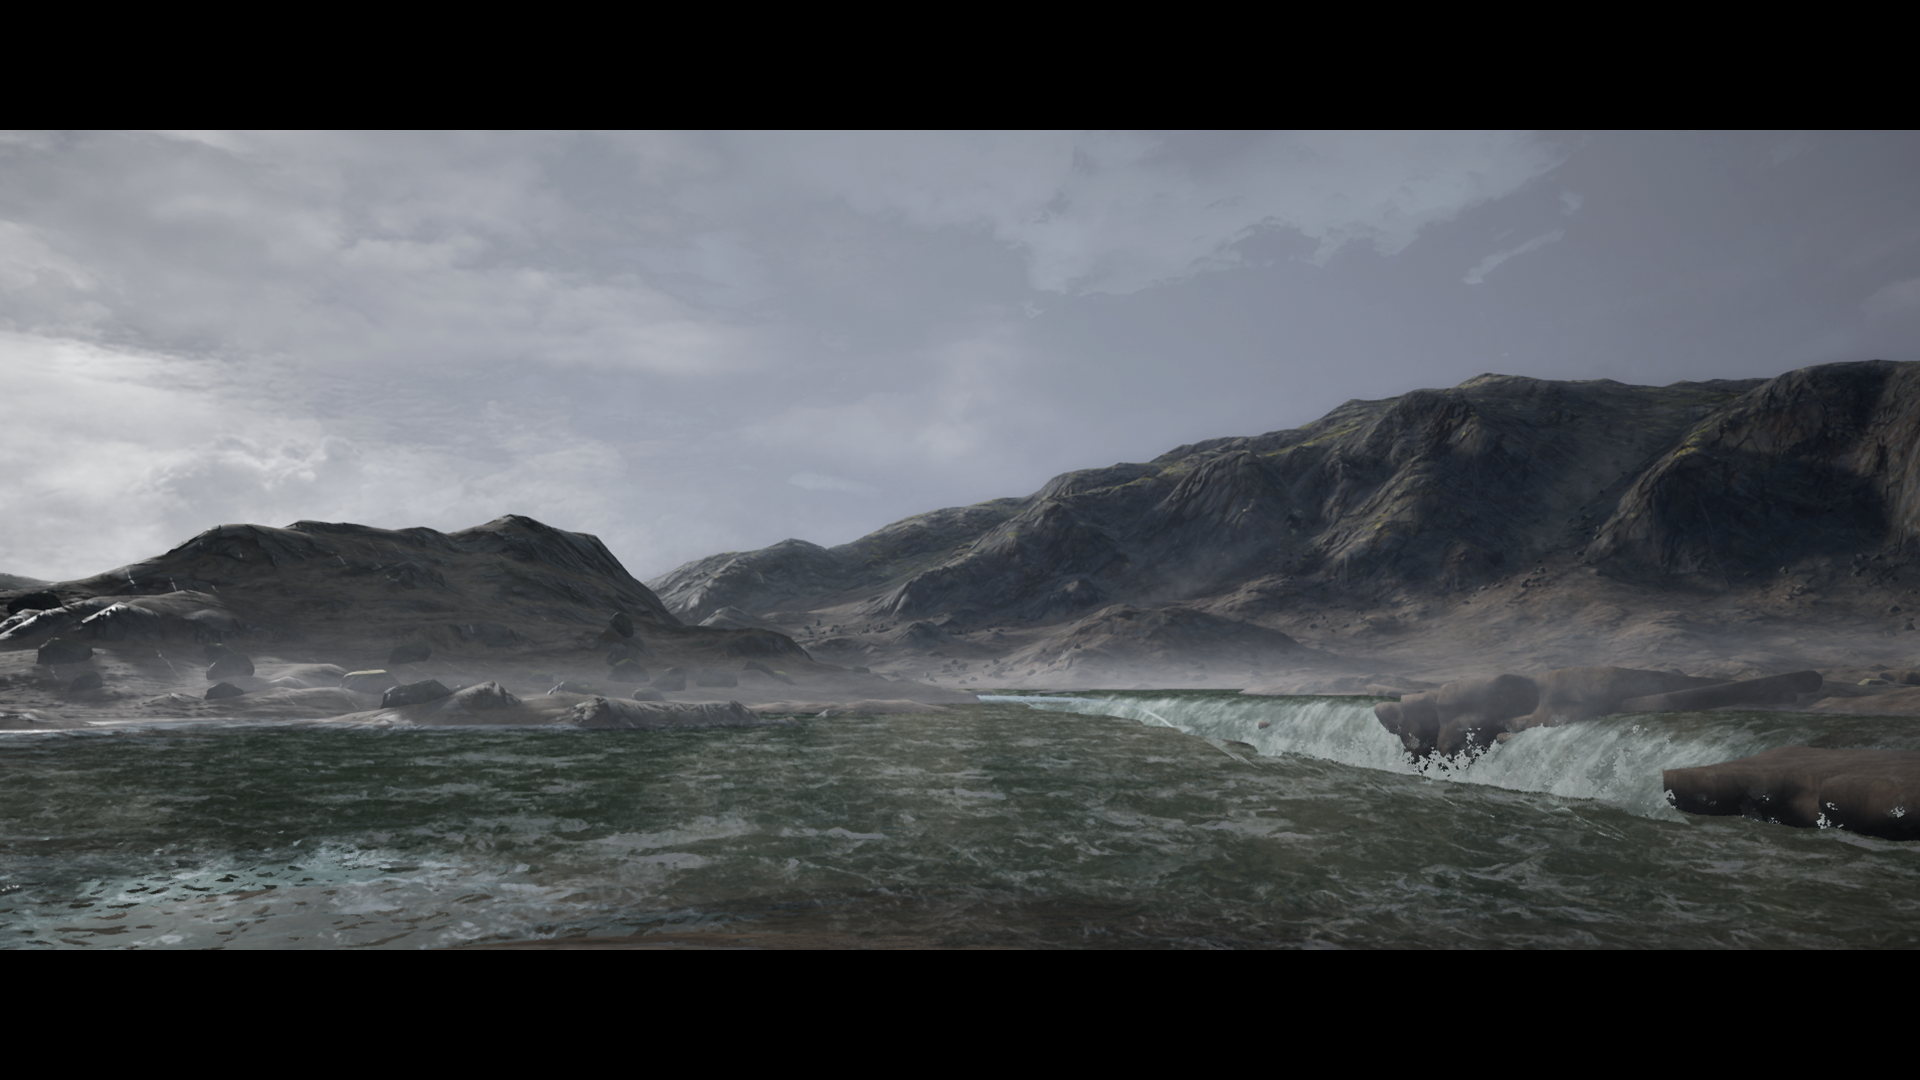
For this environment I was tasked with creating what I took to be an Icelandic themed environment. The landscape needed to crack to form a fissure, which then fills with water. I was given two reference images and two weeks to complete the project.
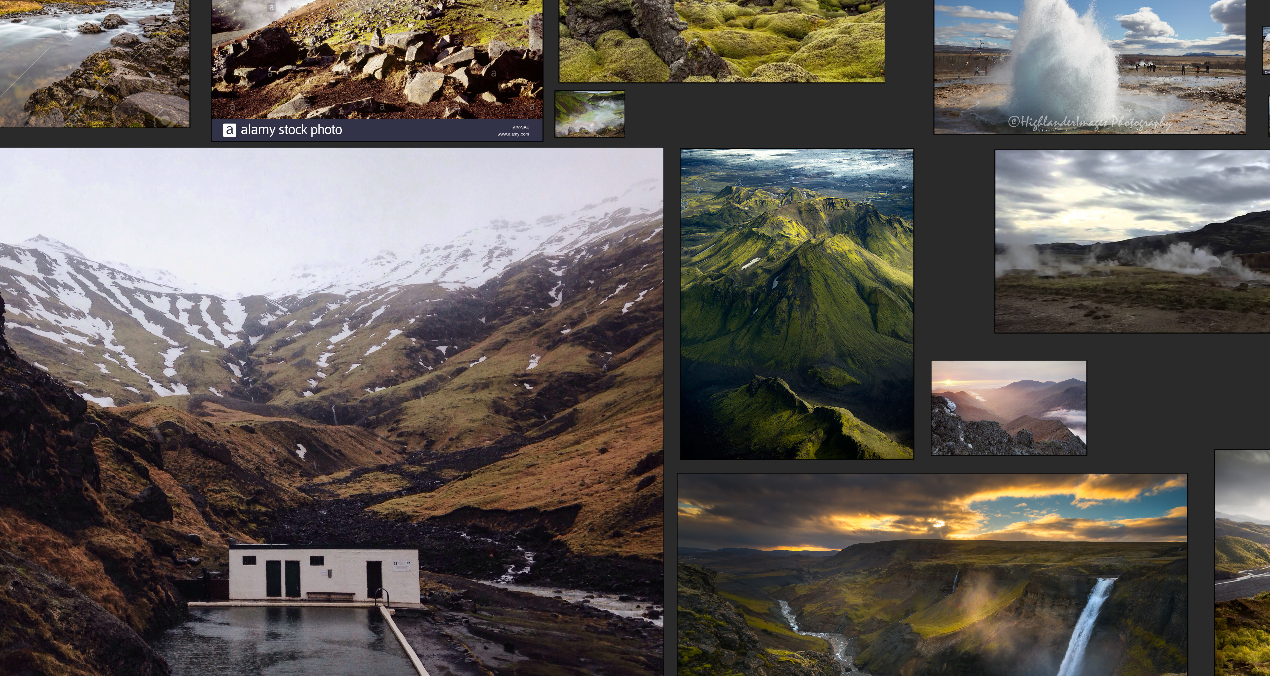
I started by filling out the reference images to give me a better idea of what the scene should look like. For this I used PureRef, which lets you collate your images together and overlay the work.
Ideally, I would have visited the site in question to gather reference but given the time constraints I ended up using a combination of google images and maps.
Base Terrain
Day 1 (7 hours)
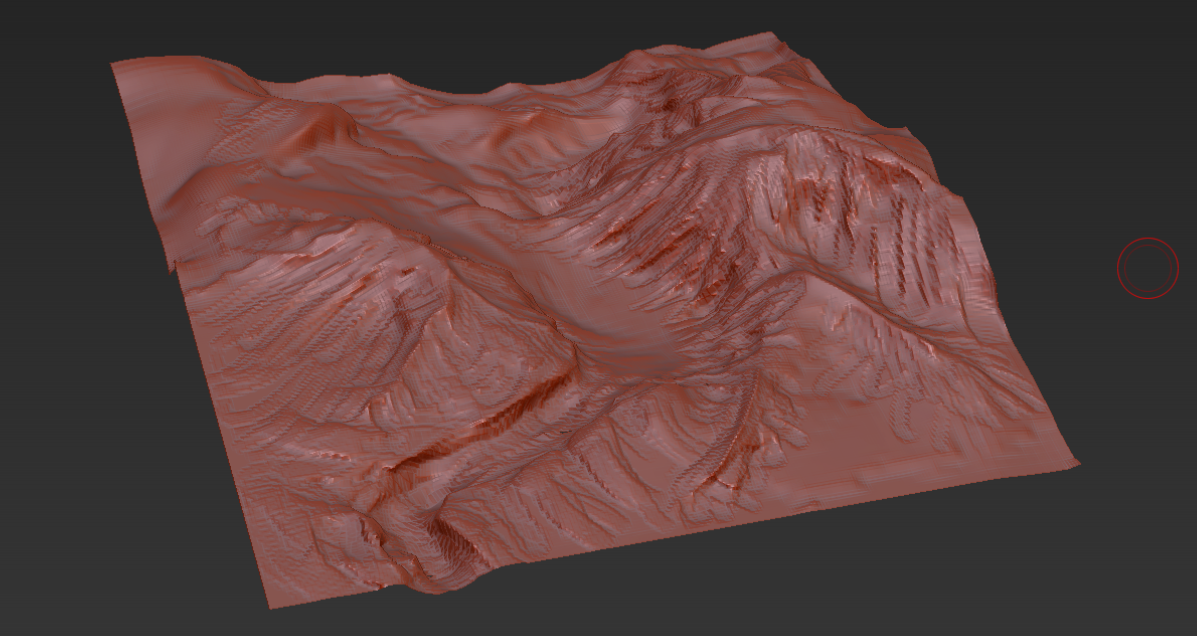
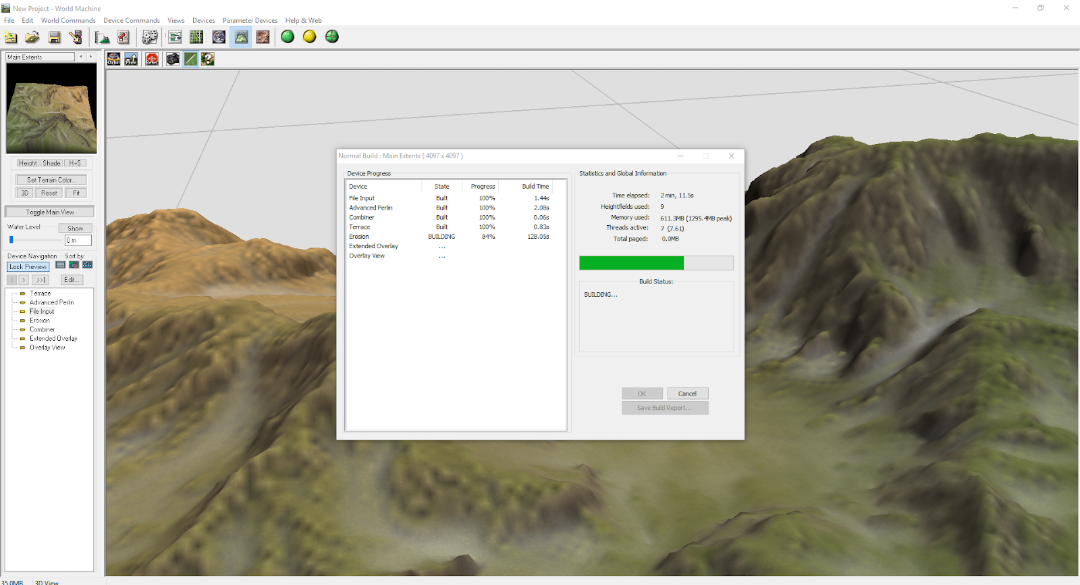
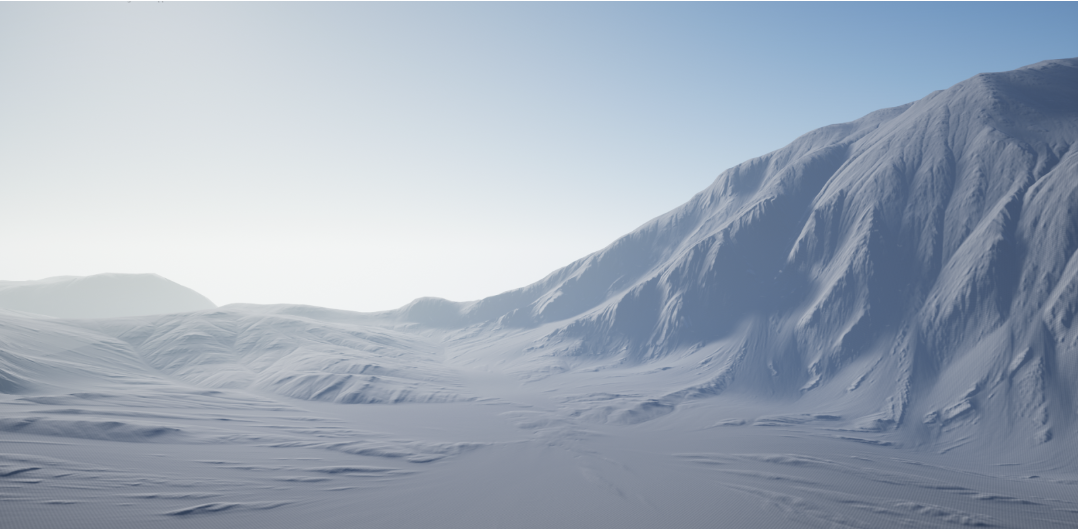
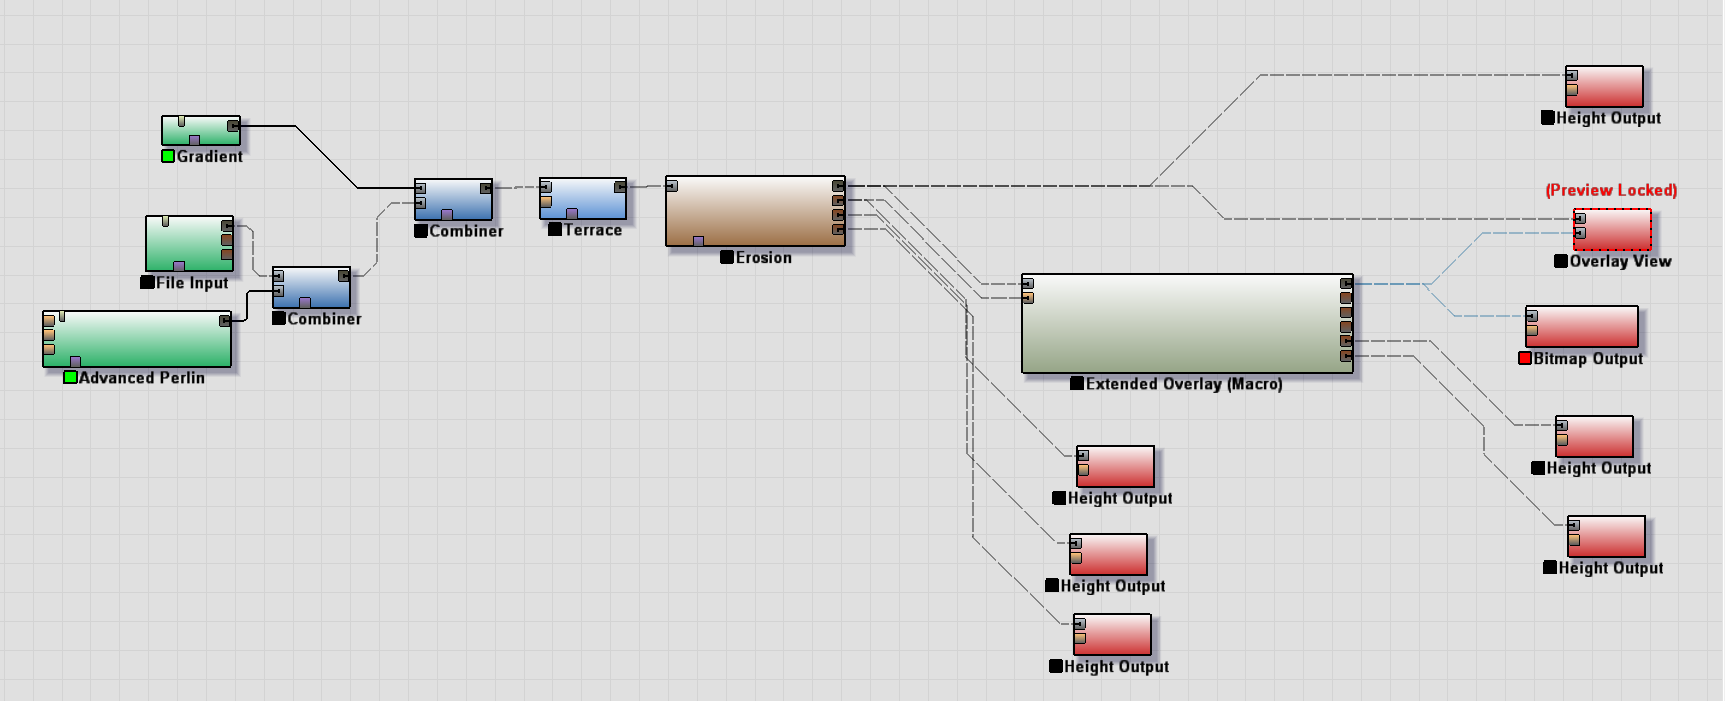
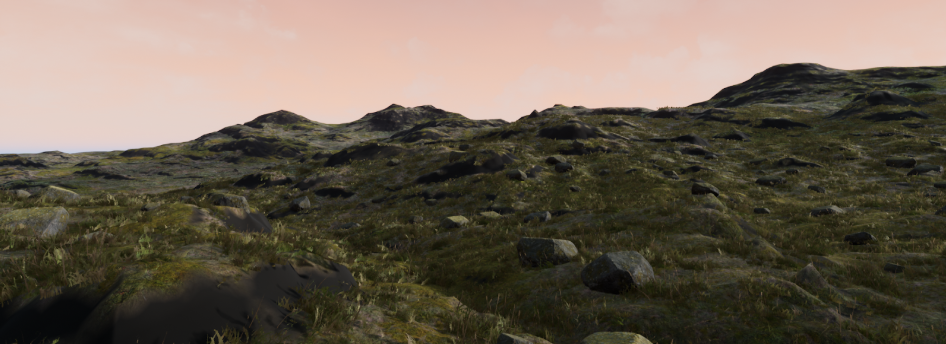
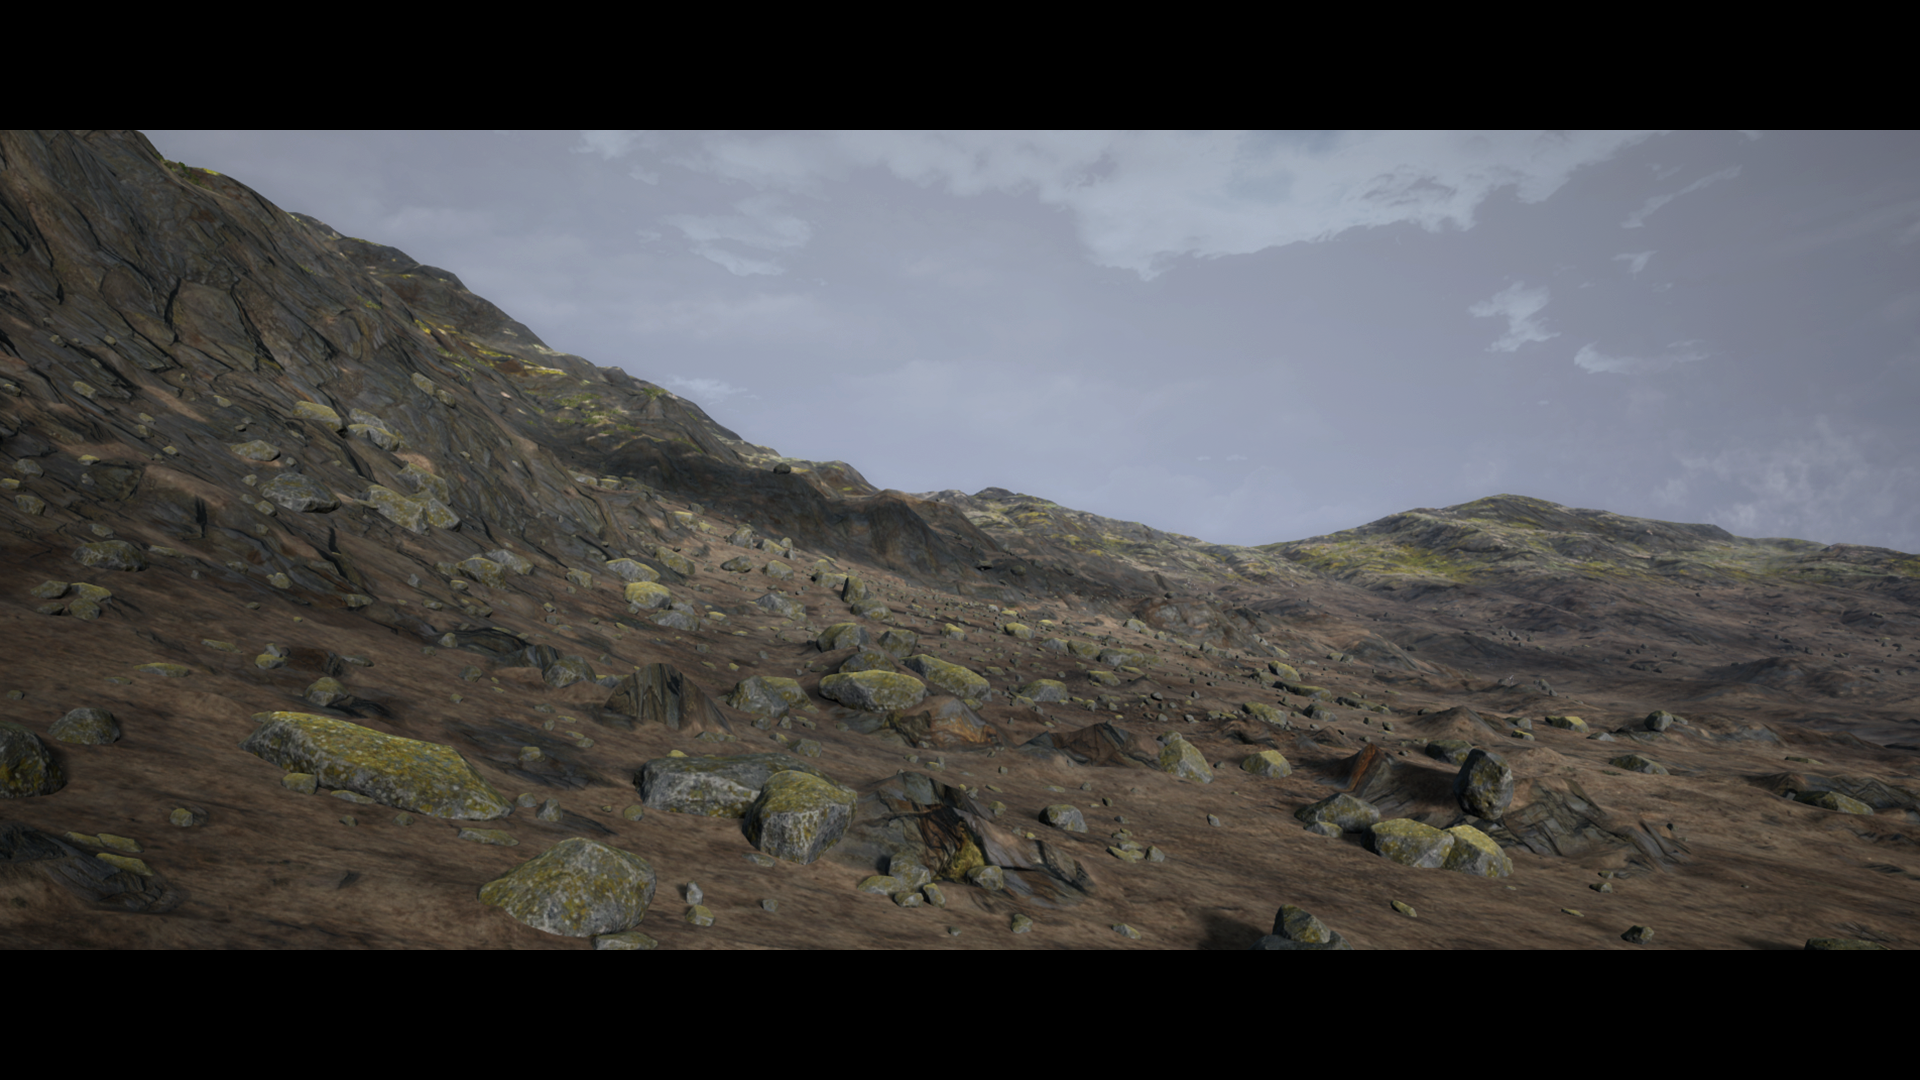
When creating a scene, I start with the biggest shapes and work my way down. In this case the biggest element was the terrain so I started there. Using zbrush, I created a rough draft of the landscape. The sculpt was intentionally simplistic as most of the detail would be generated in World Machine.
I used grabdoc to get the height map and used World Machine to create realistic erosion and generate maps.
I iterated a few times, switching between World Machine, zBrush and Unreal until I was happy with the final landscape and scale.

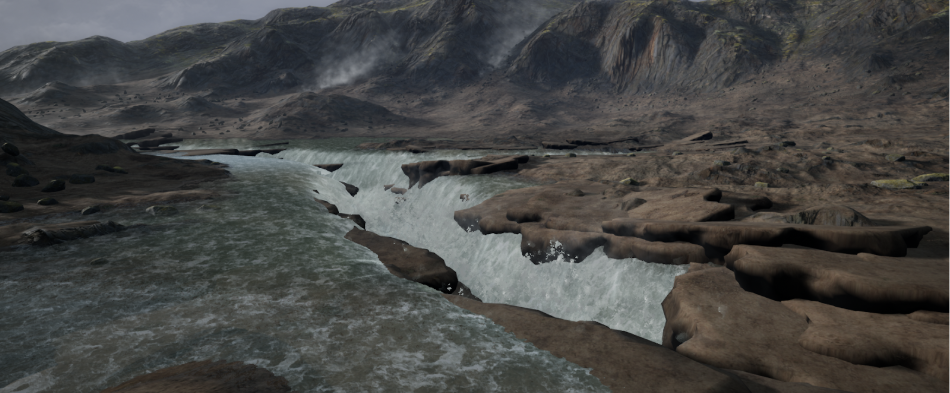
Fissure Creation
Day 2 (8 hours)
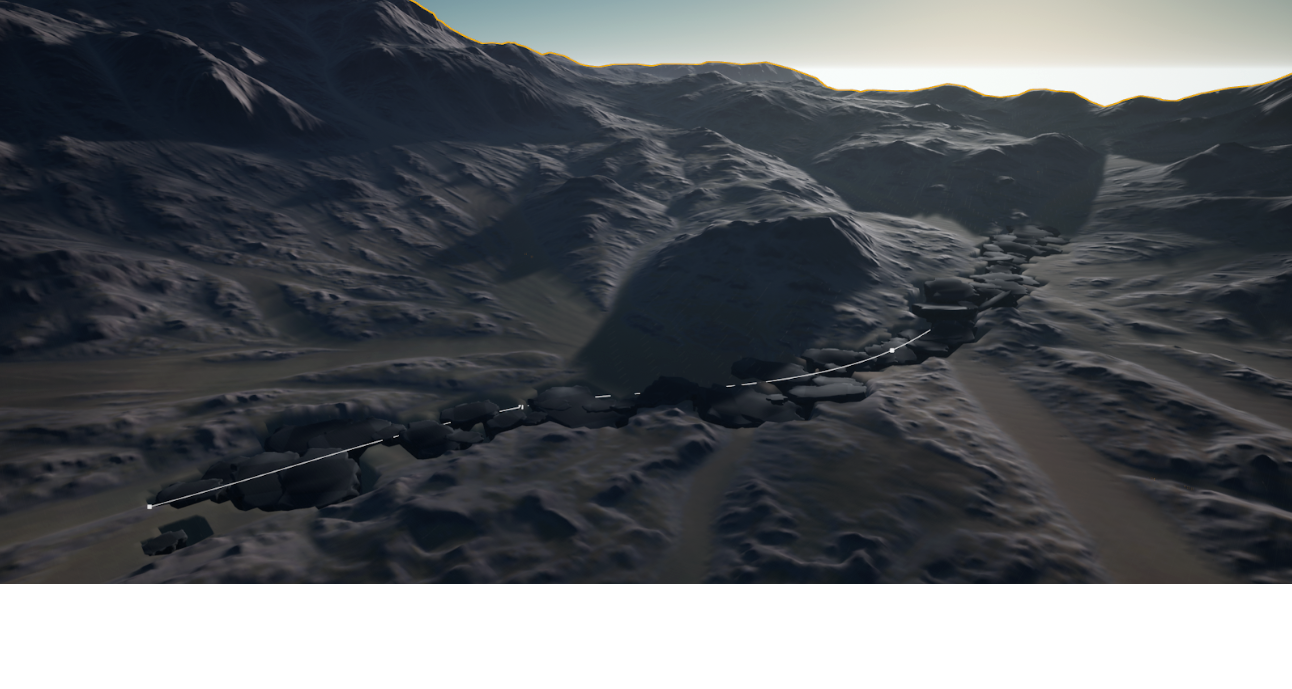
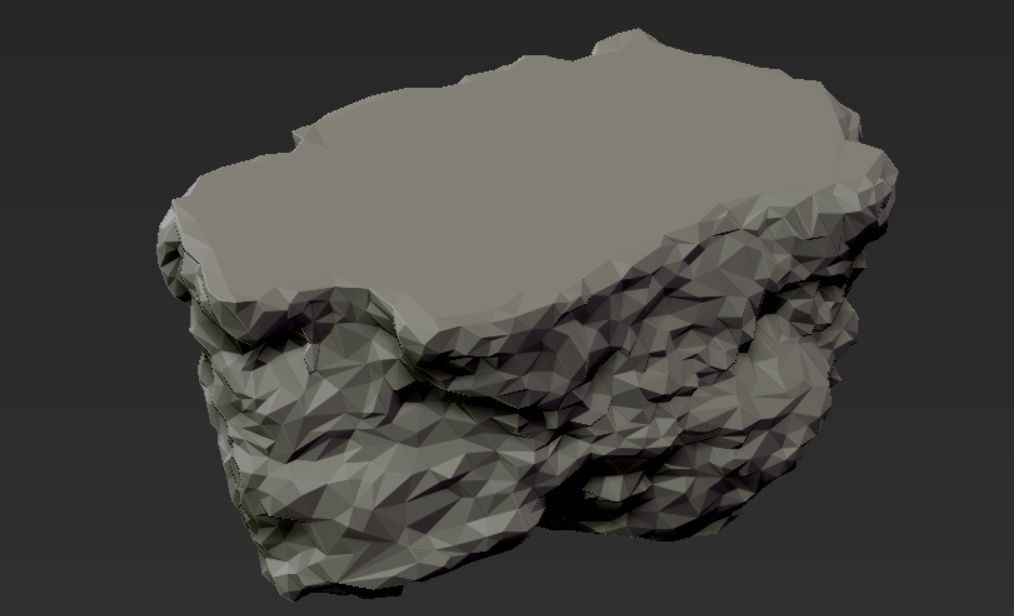
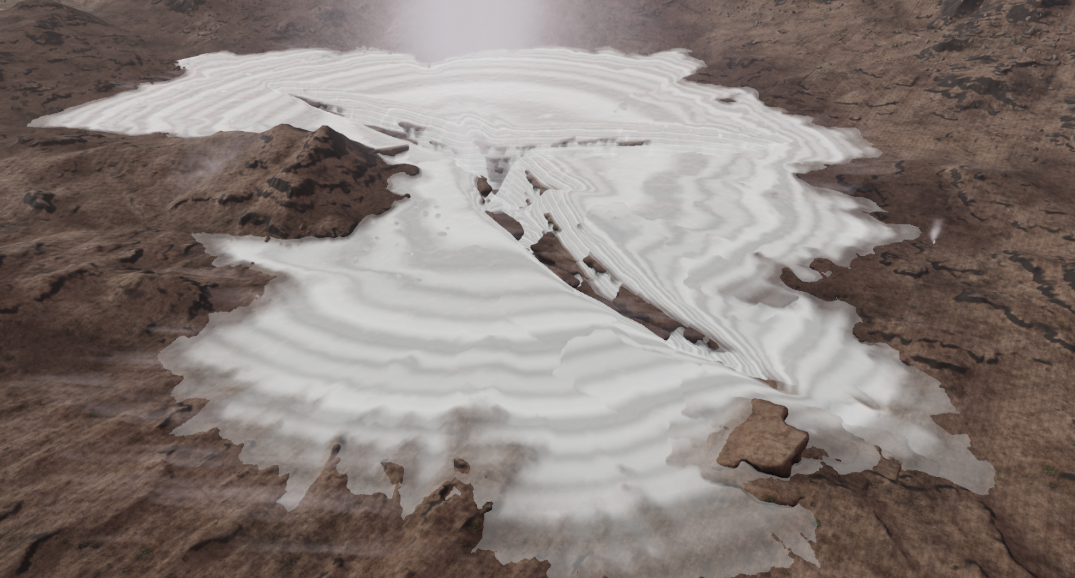
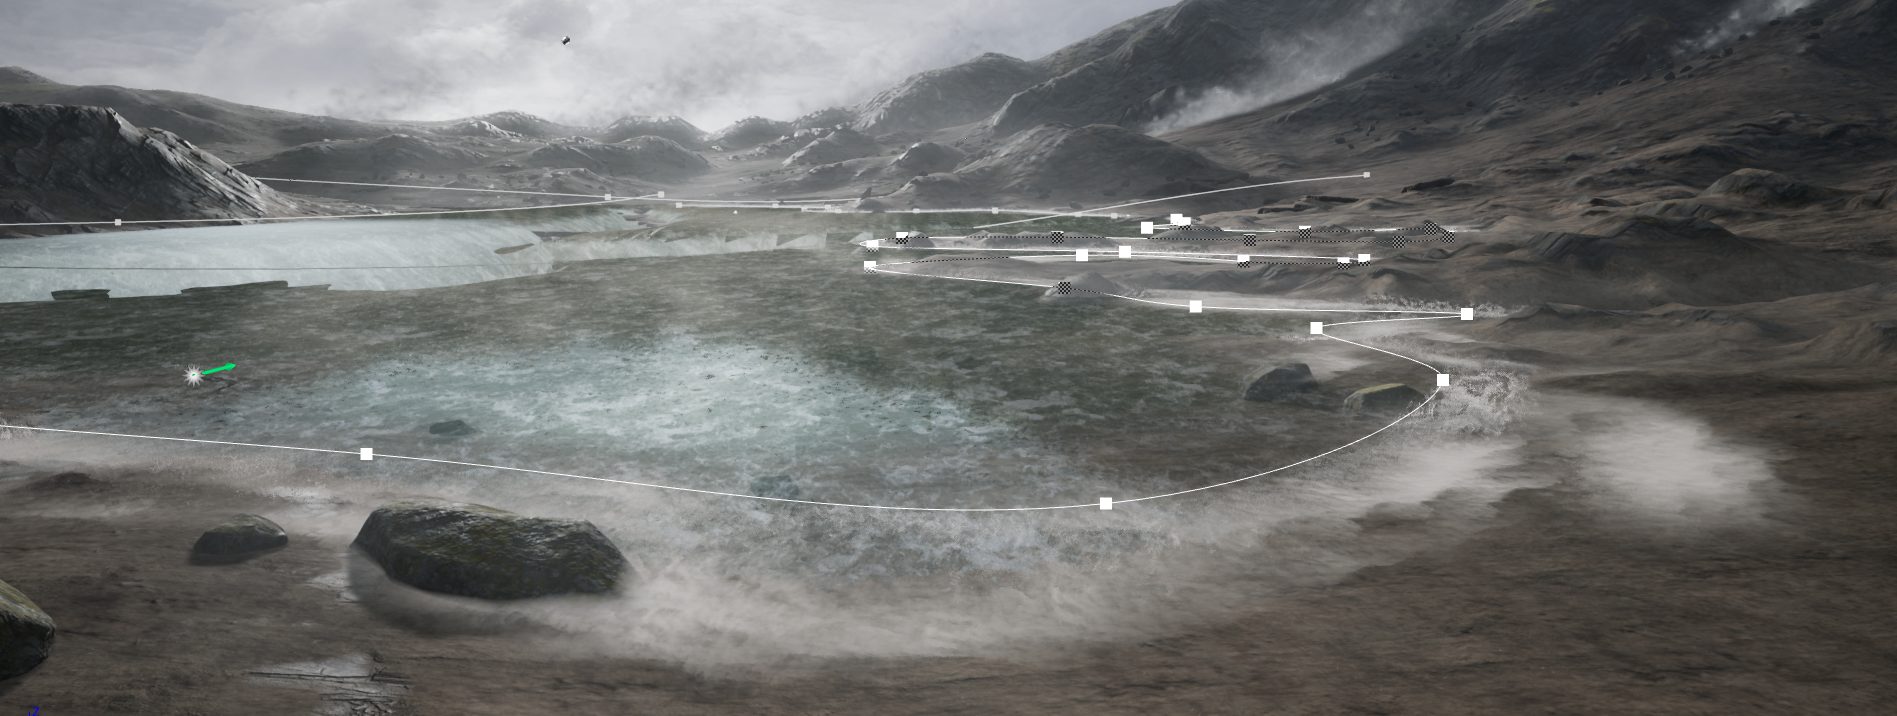
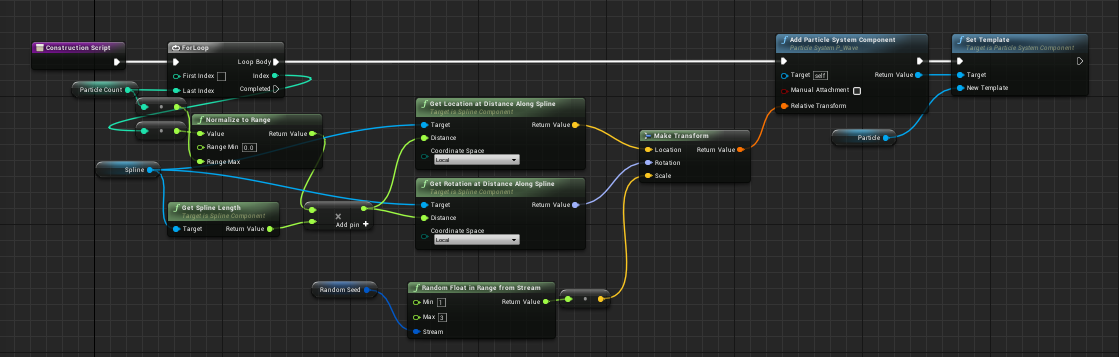
For the fissure I wanted to make something dynamic that allowed for very quick iteration. I started with a placeholder broken earth block. Using Blueprint I made a spline that could be placed anywhere on the map, then using the construction script I placed the block along the spline with a slight offset.

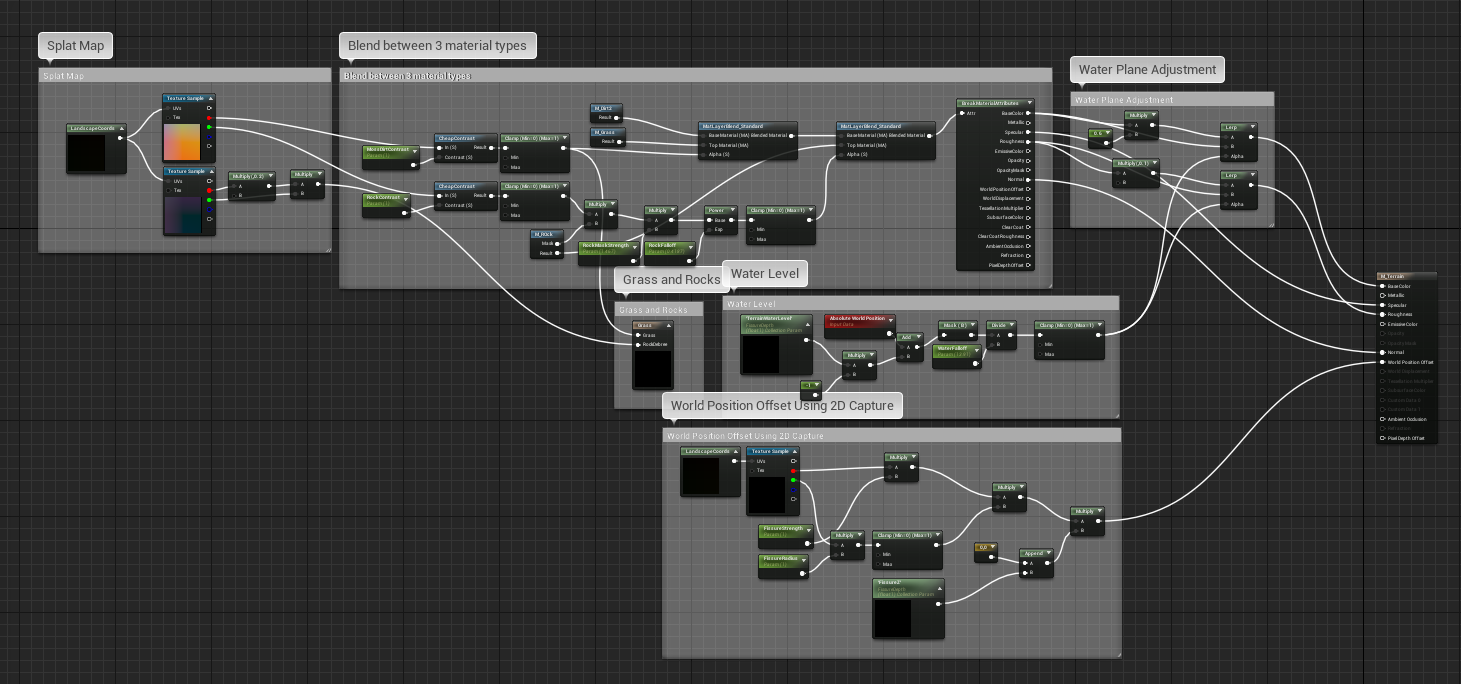
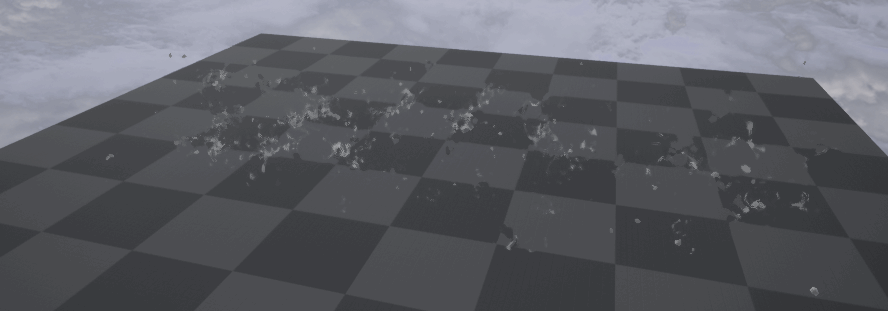
I then created an orthographic 2D capture, set it to only capture the fissure blueprint and applied that to the world position offset of the terrain. This worked from a distance, but up close you could clearly see where the level of detail didn't quite stand up to scrutiny. The resolution of the capture would have to be set much higher to work and that would not be optimal. To fix this I chose to capture a secondary proxy (plane with a soft falloff) that rendered underneath the landscape. I kept the proxy and fissure all in the same blueprint so it would all update in realtime.

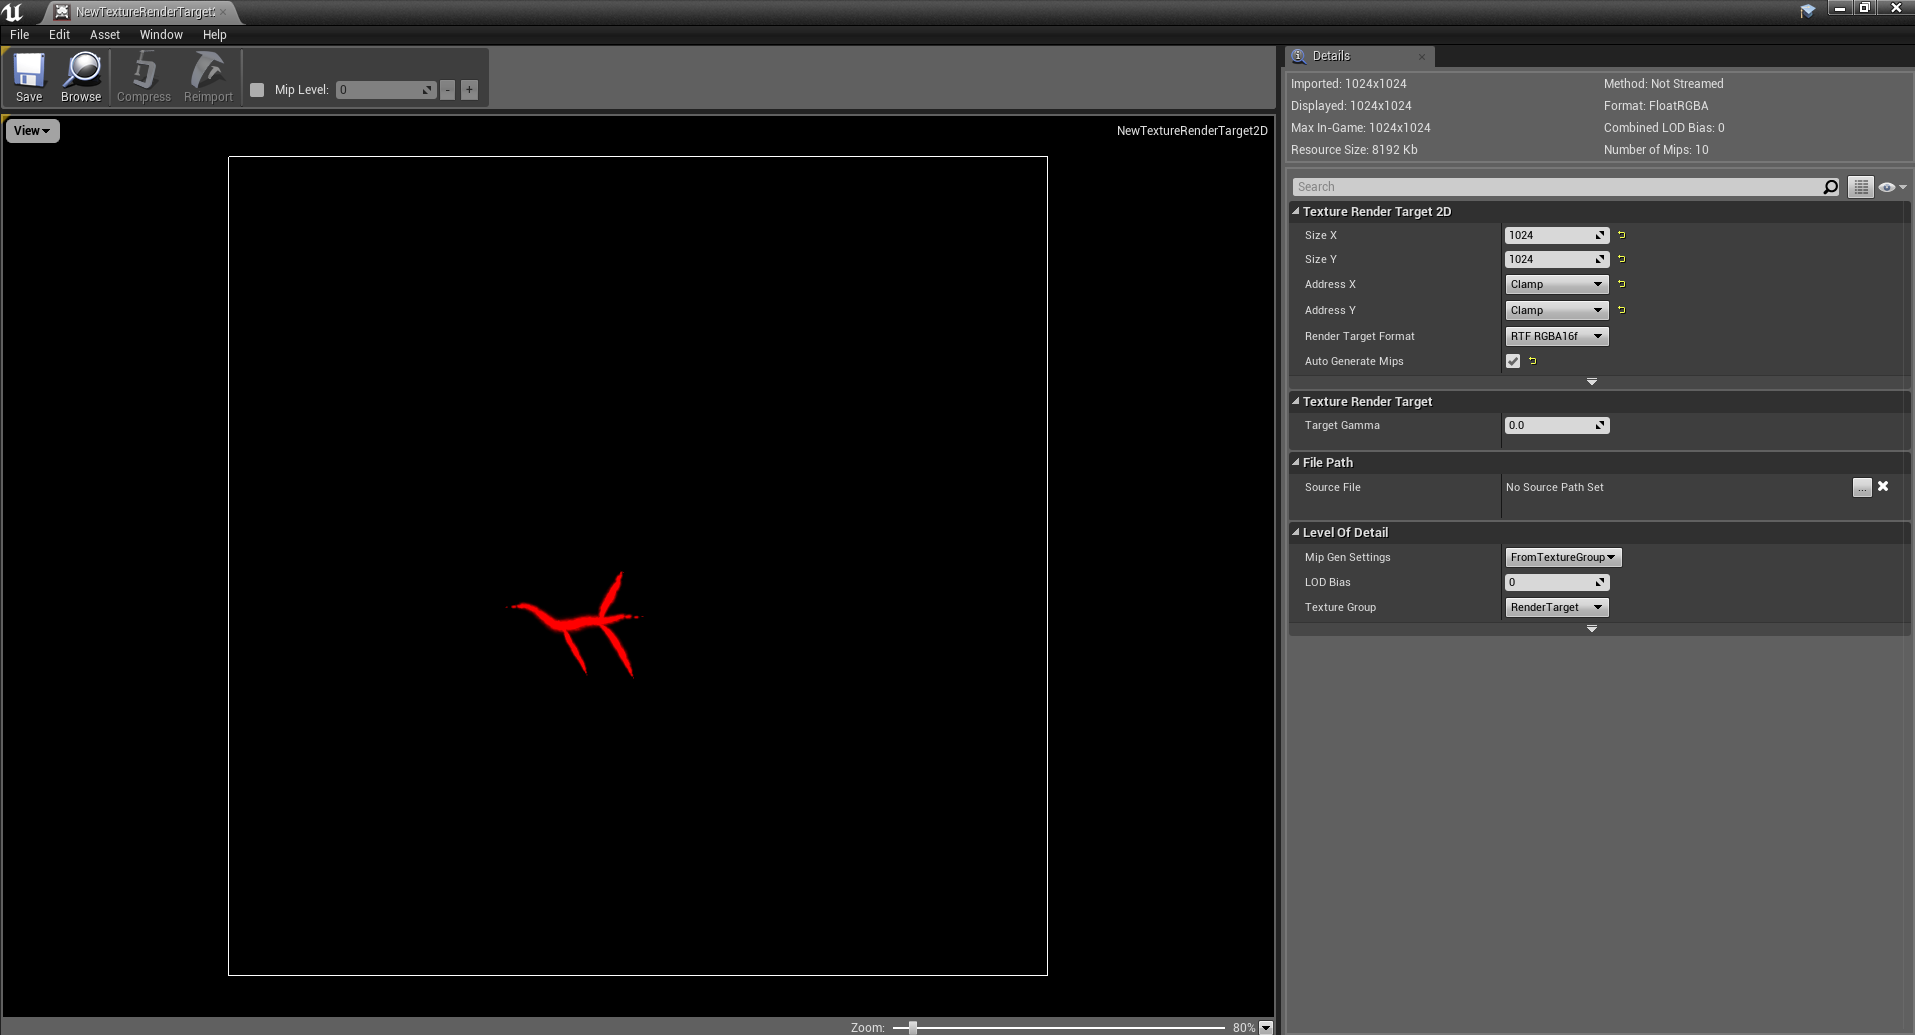
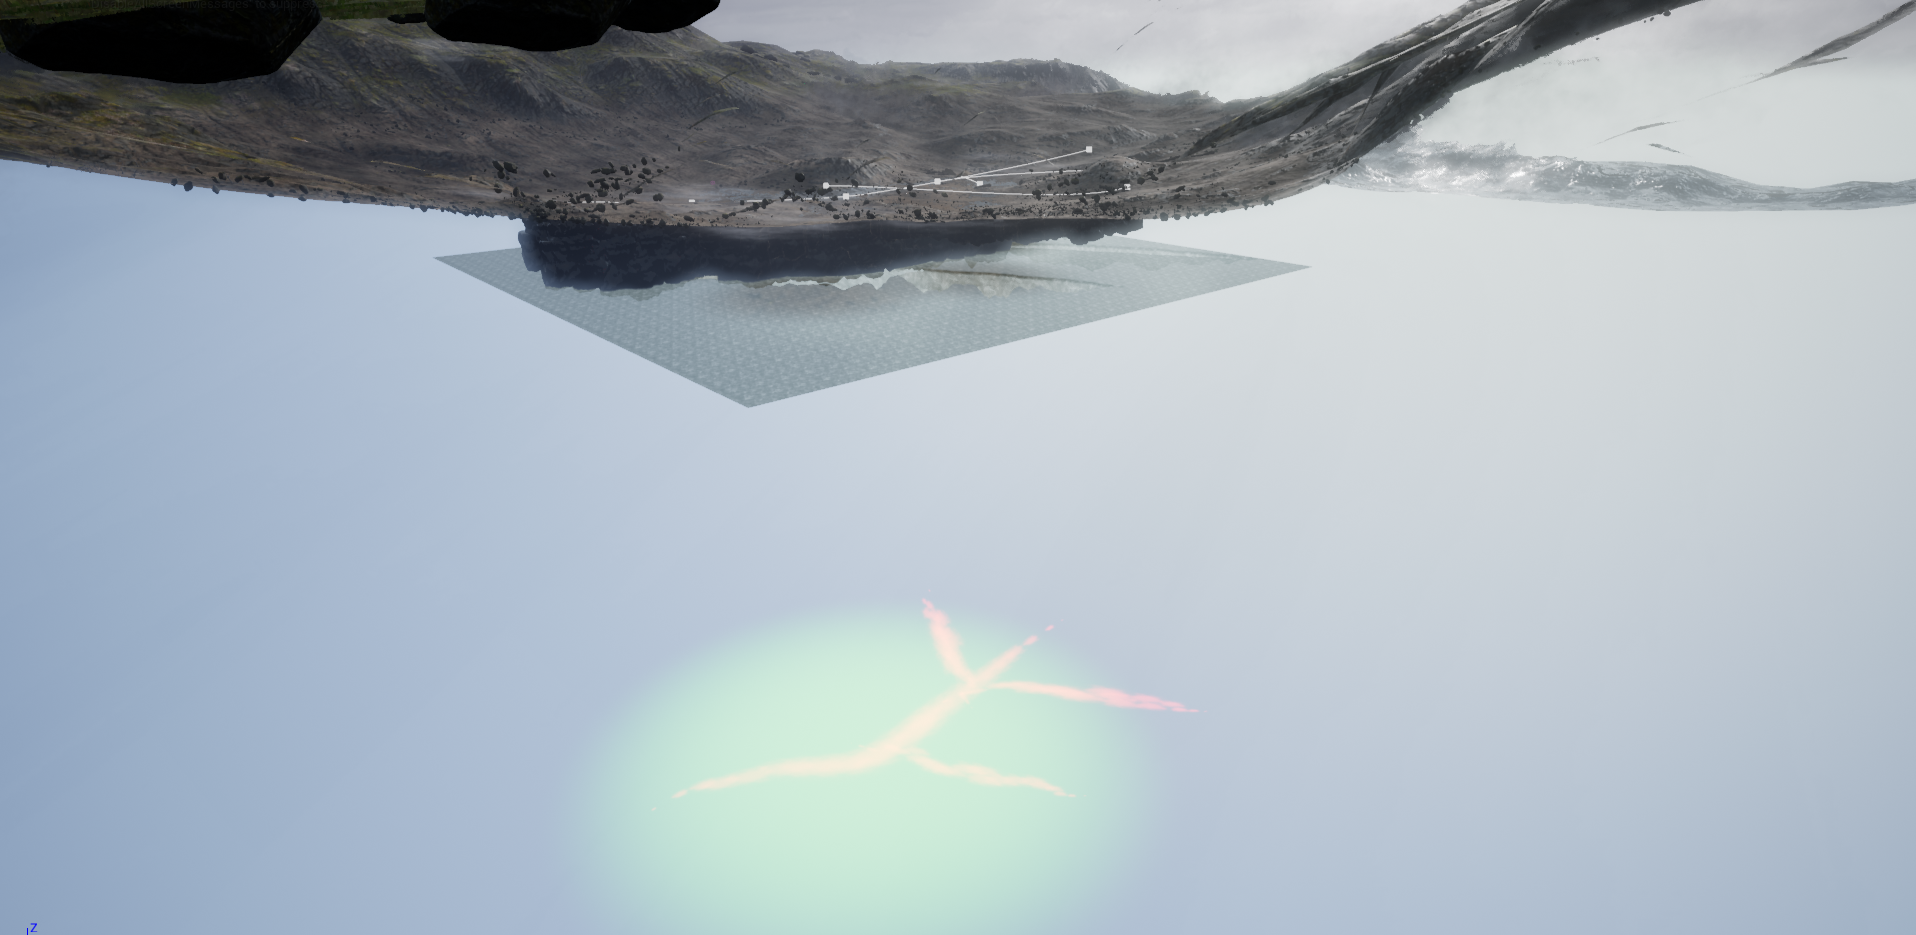

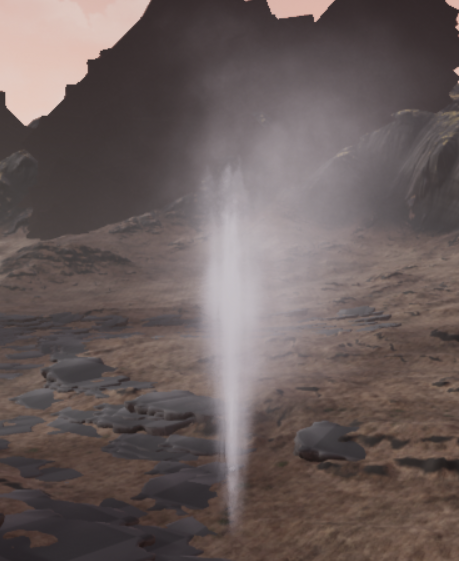
I created a steam particle that could come out of the fissure and also various steam vents around the environment.


Final steam particle with refraction.
Beginning Asset Creation
Day 3 (8 hours)
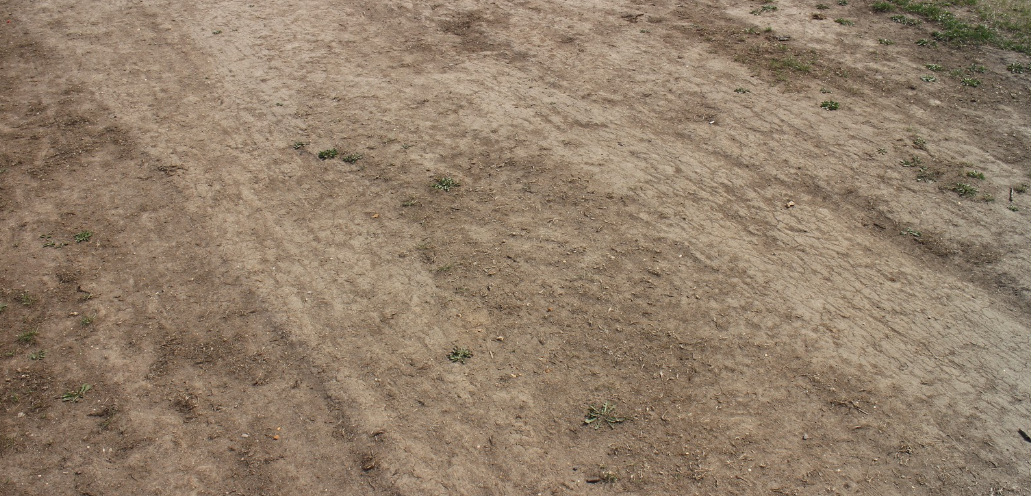
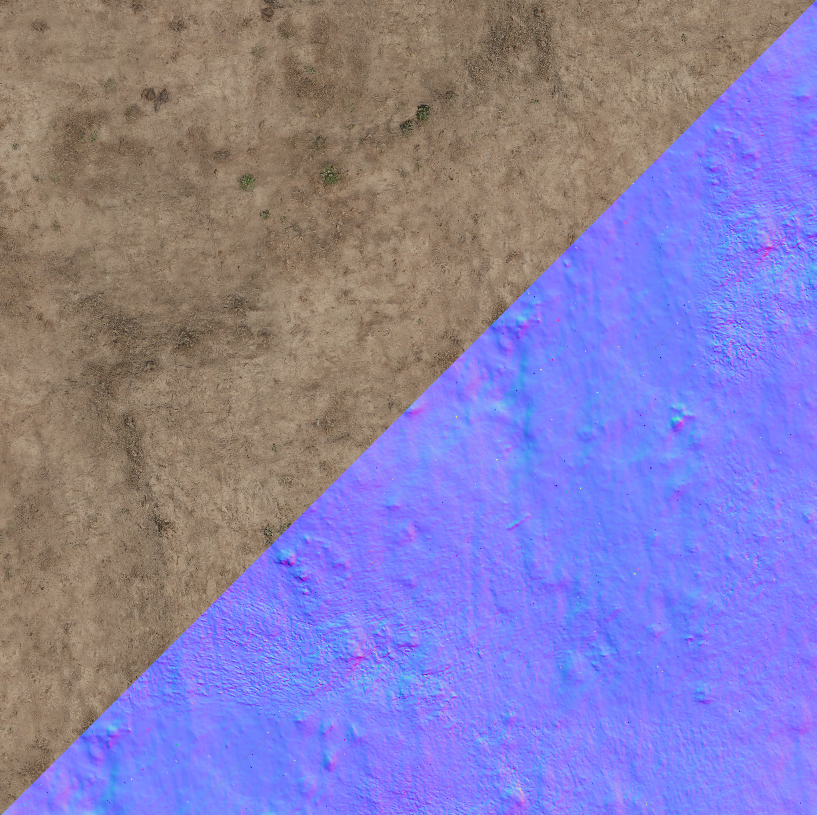
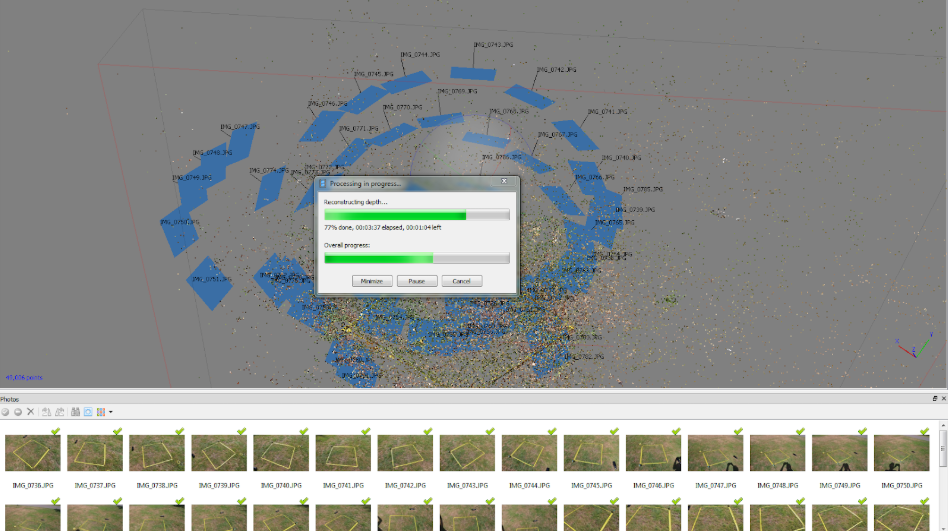
Although the weather conditions weren't ideal I needed to get textures for the landscape. I took a range of photos of a dirt patch and ran them through Agisoft Photoscan, baked it to a plane and then cleaned up the height and albedo map in Substance Designer.
From the height map, I generated a normal and used a mixture of the albedo and grunge maps to make a roughness map.
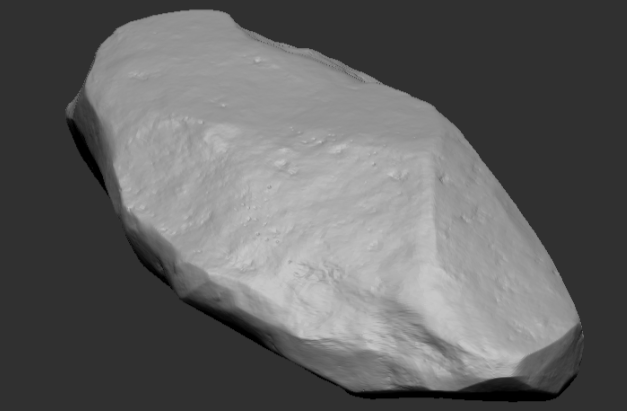
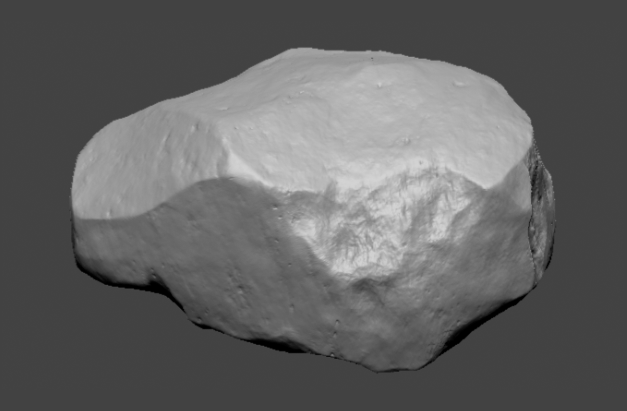
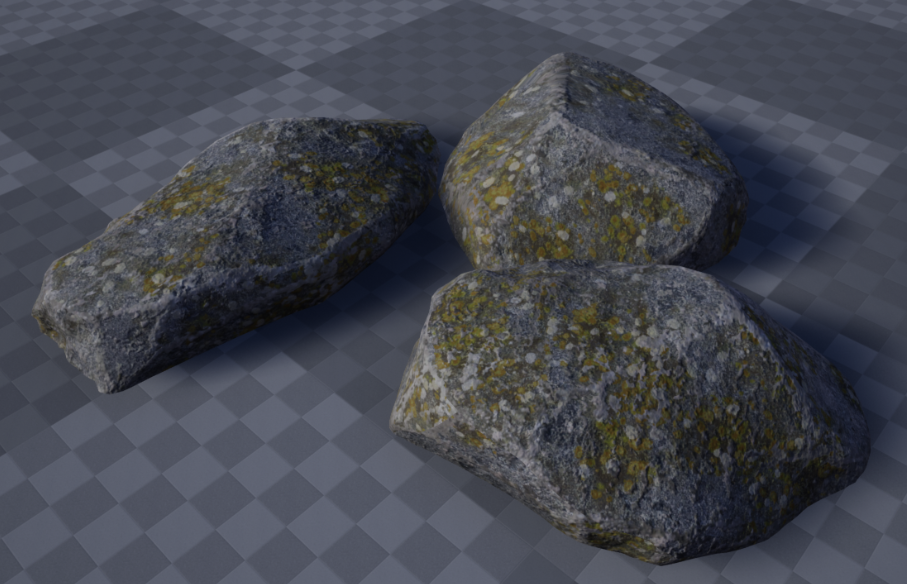
While Agisoft was building, I started work on some large boulder assets that would be scattered throughout the map.
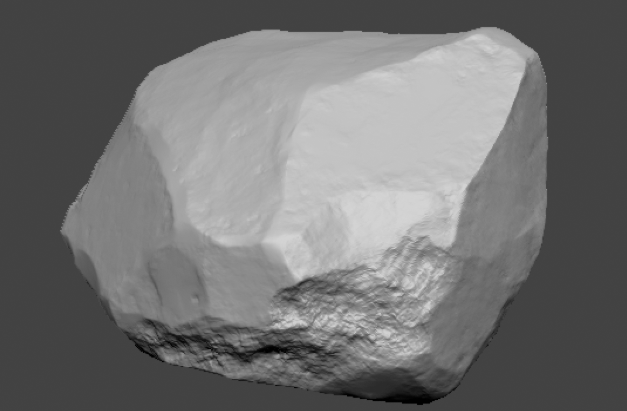
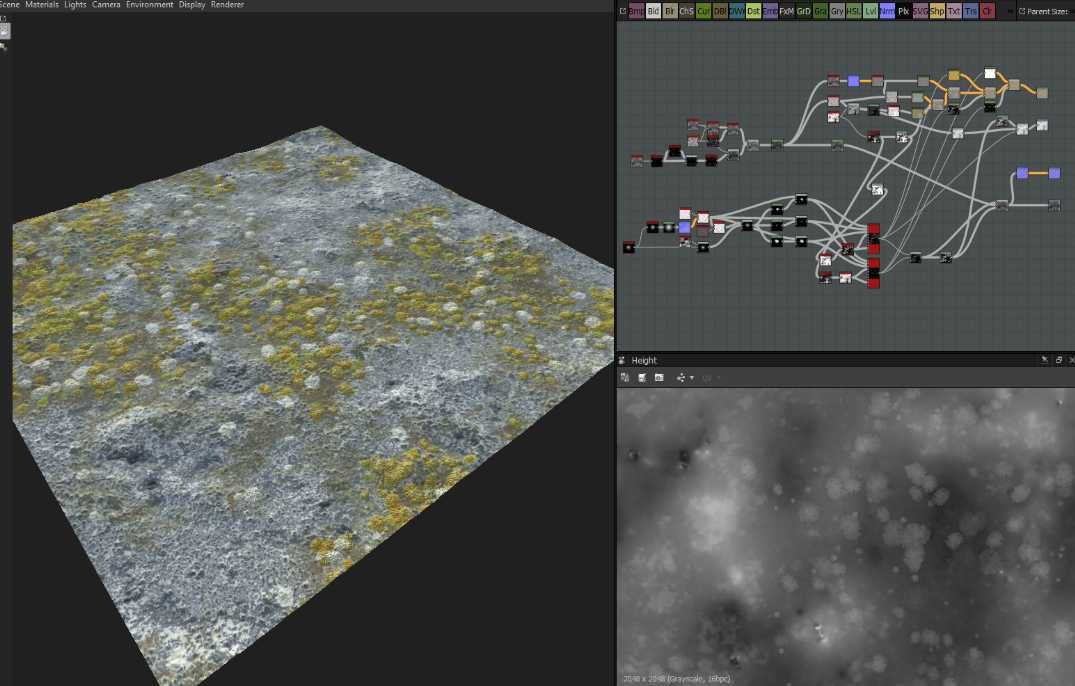
I sculpted some basic shapes in zBrush, used decimation master to generate the low poly and baked out the base normal and height. Using Substance Designer, I created a mossy rock material and applied it to the models with a edge wear mask to highlight some of the sharper edges of the rocks.
I created a mossy material by making some moss variations and then scattered them using 3ds Max.
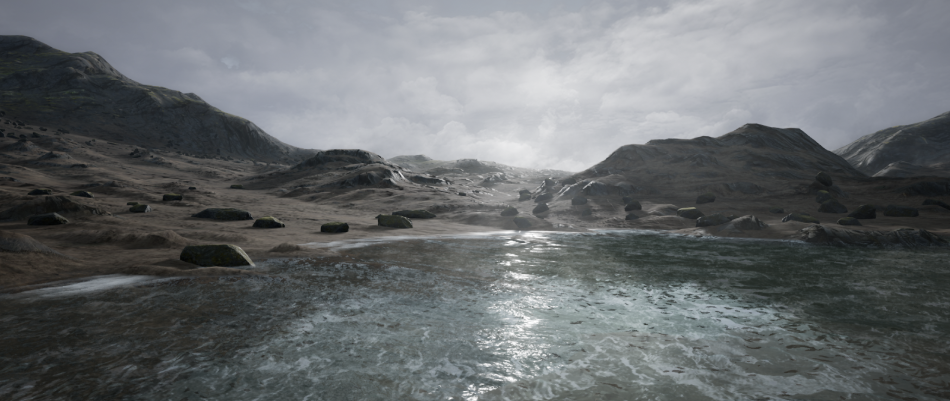
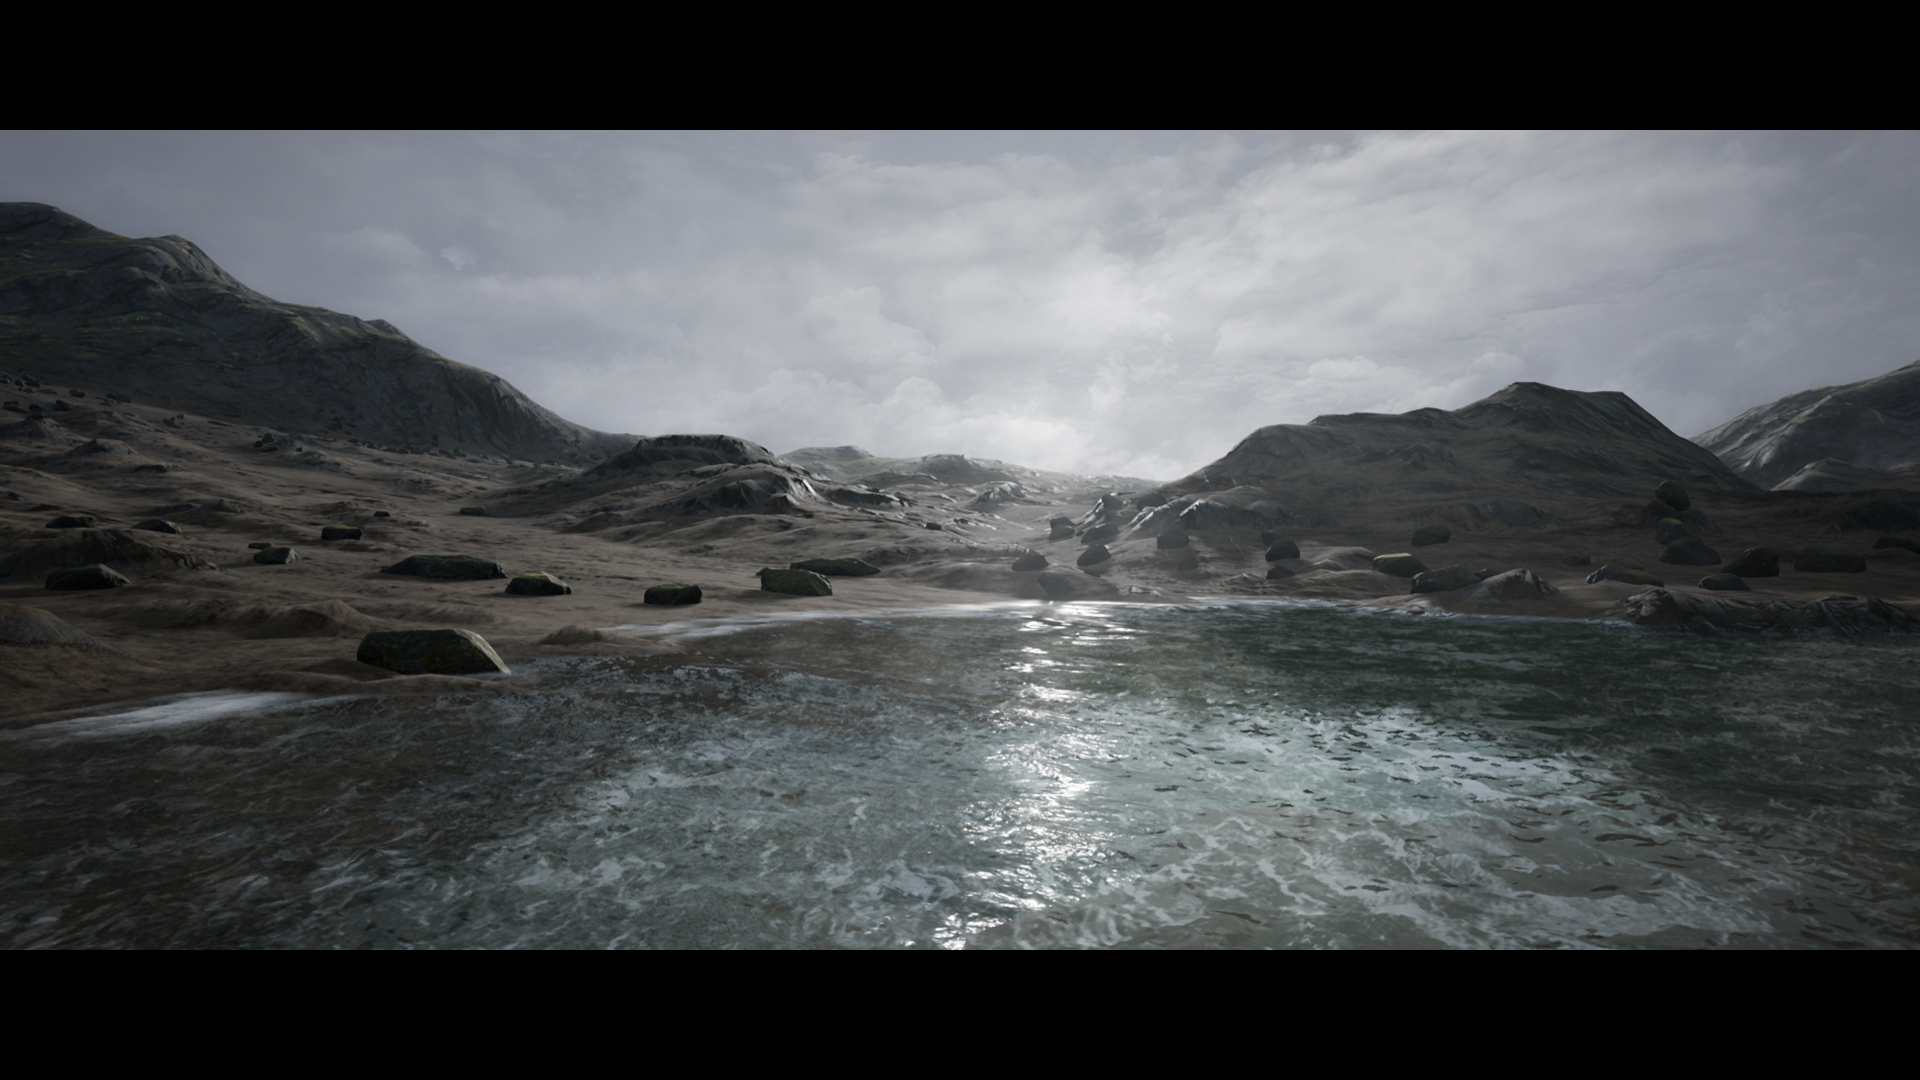
Water Shading
Day 4 (9 hours)
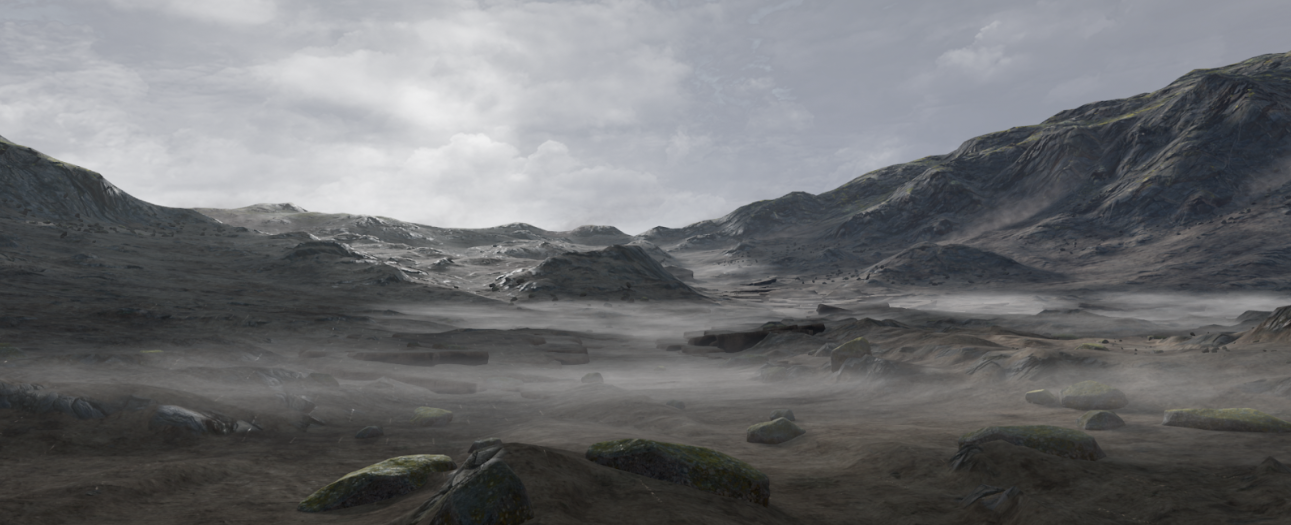
I did another particle pass on the scene, adding floor fog, I experimented with creating geyser and dust particles to add further movement to the scene.
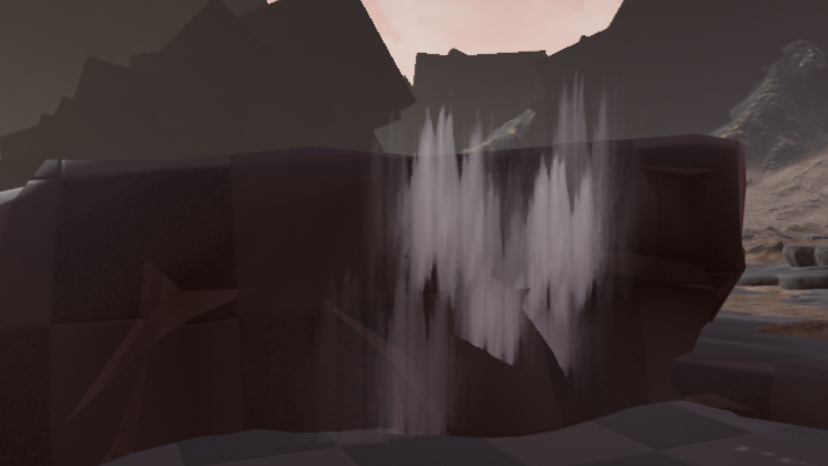
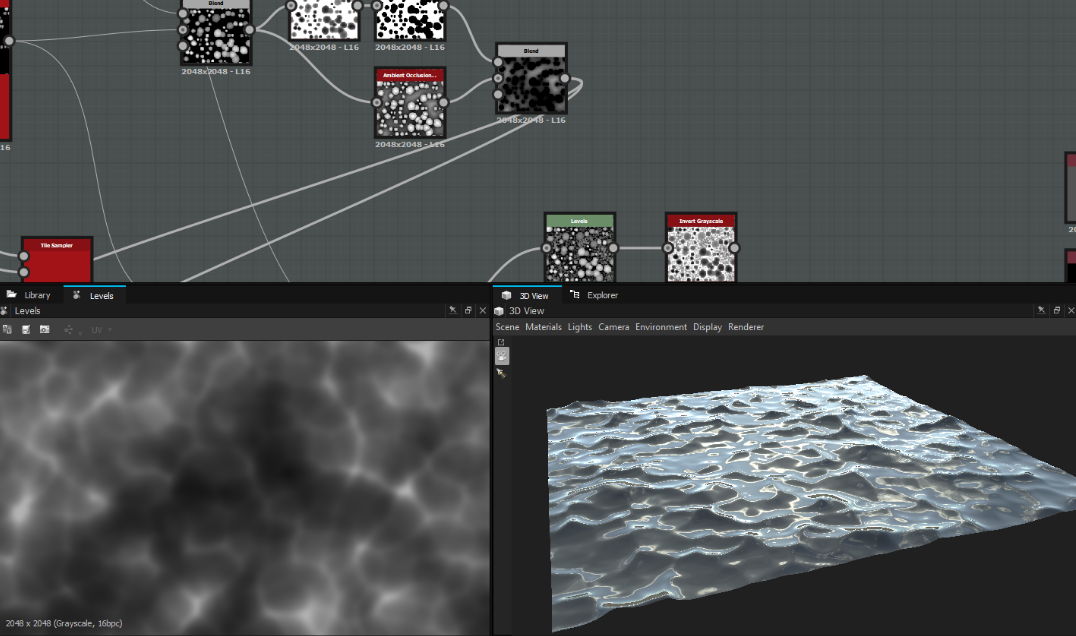
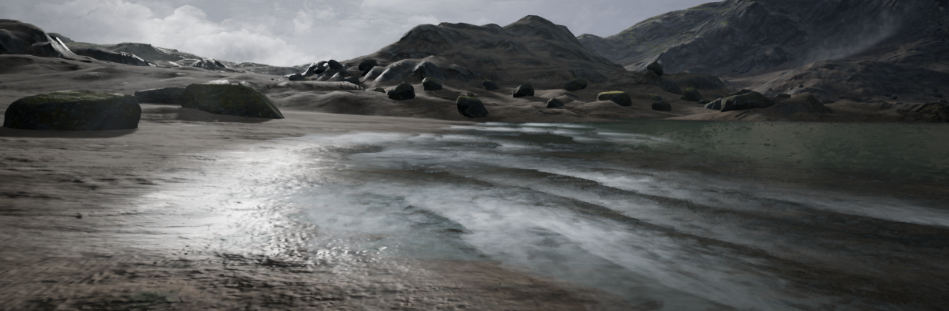
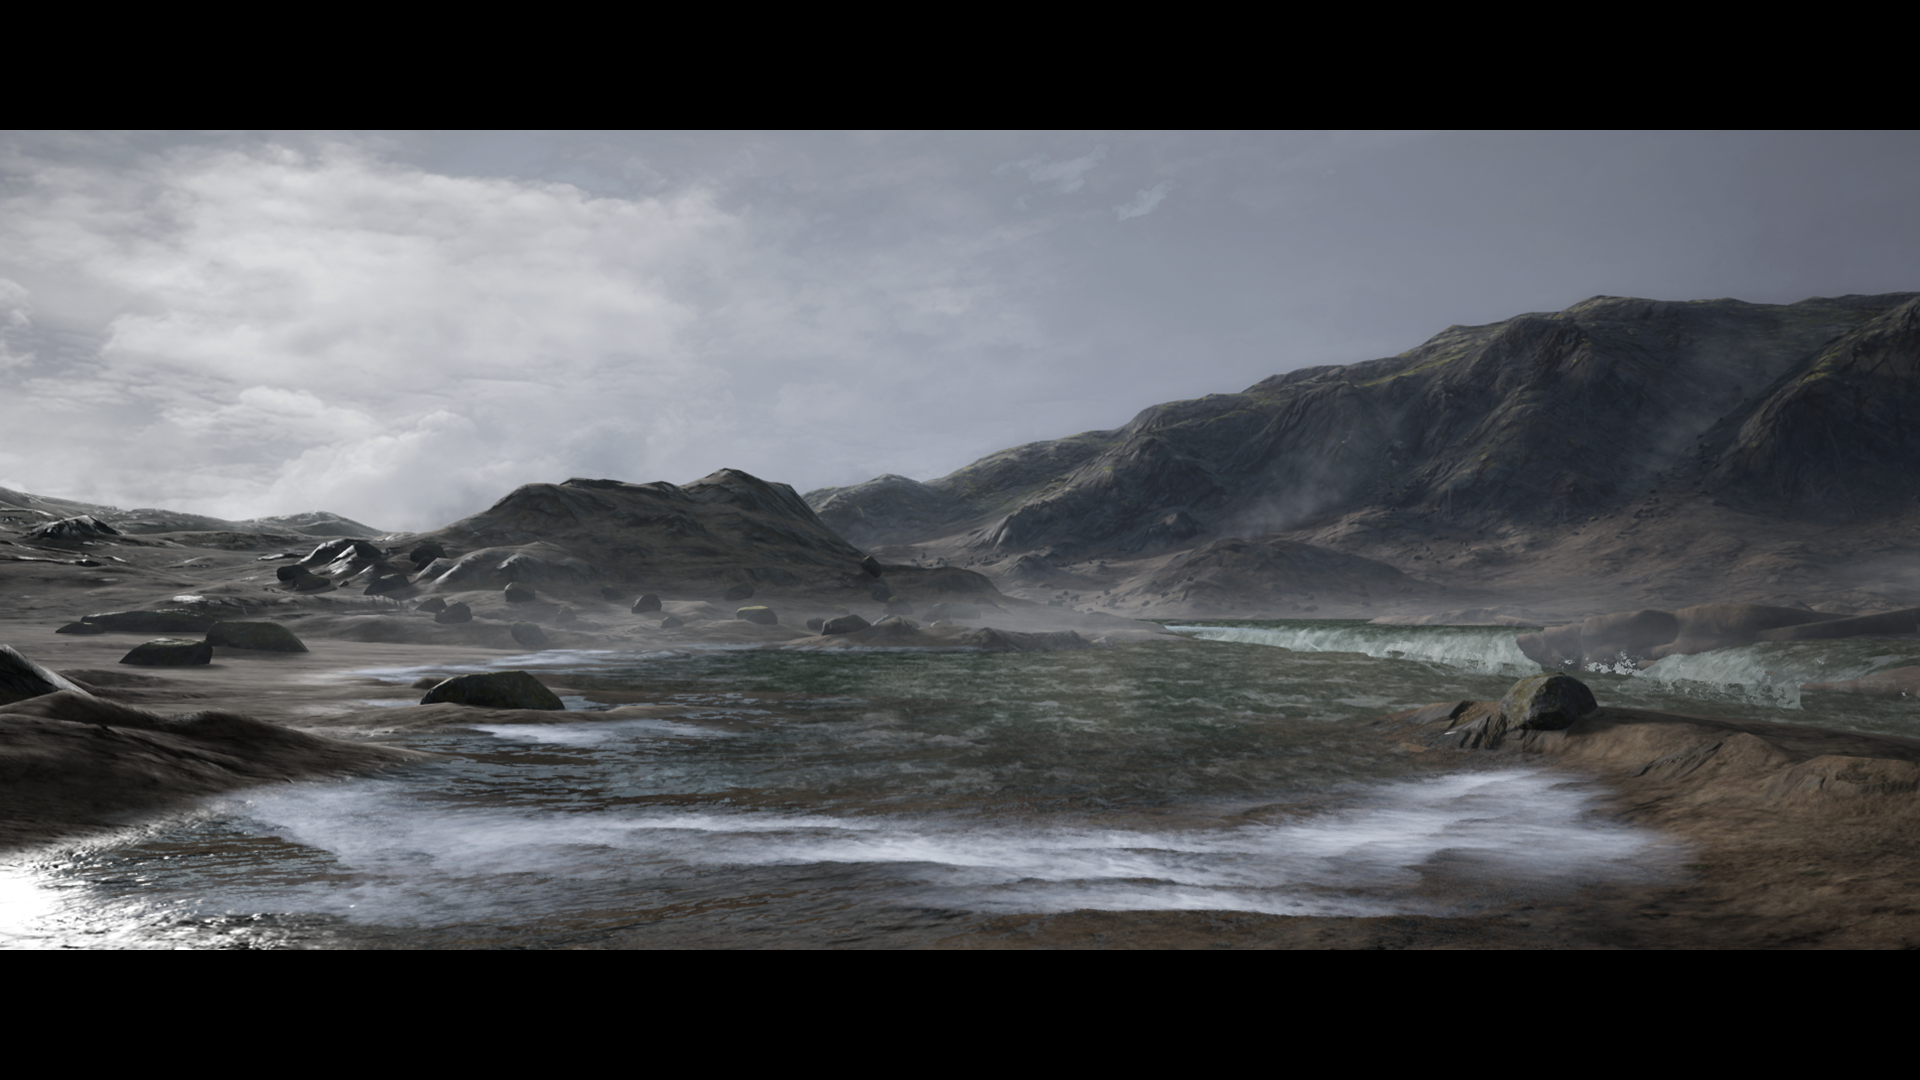
Using Substance Designer, I created a series of greyscale and normal maps. I combined these together to create a water shader. These were combined with a depth fade and radial gradient to simulate waves.
For the animation sequence I created a series of Timelines that control float values in a Collection parameter. These parameters control things like the fissure z strength, the water level etc..

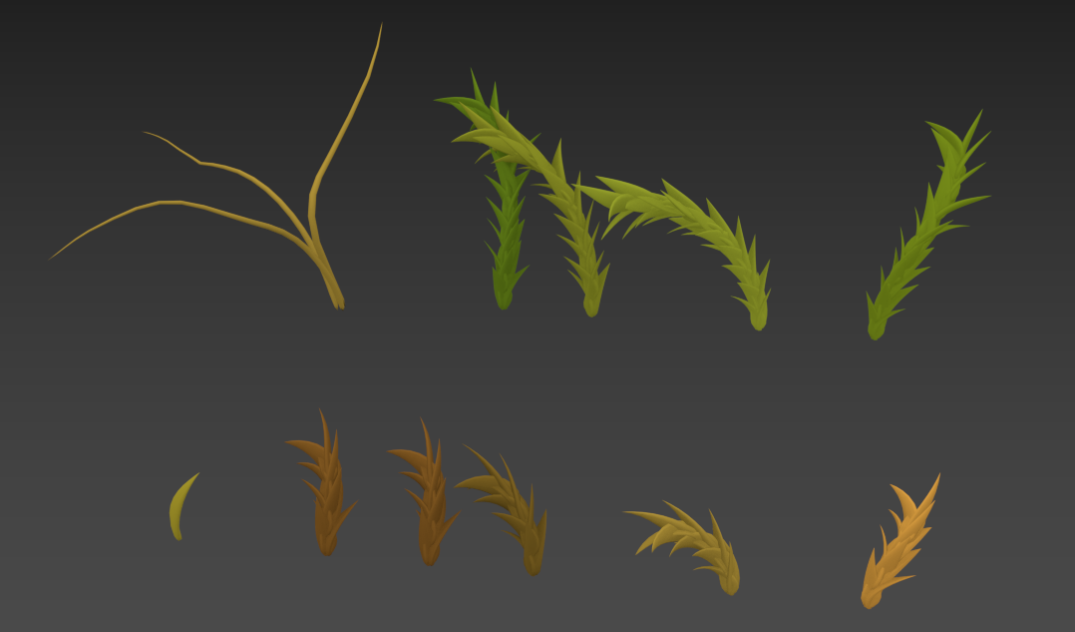
Mossy Grass
Day 5 (8 Hours)
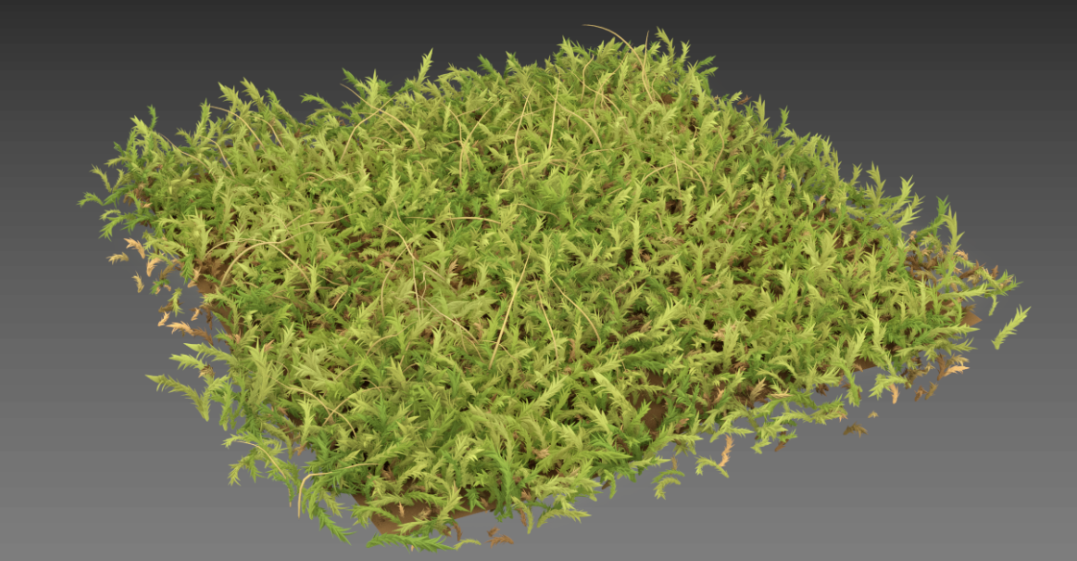
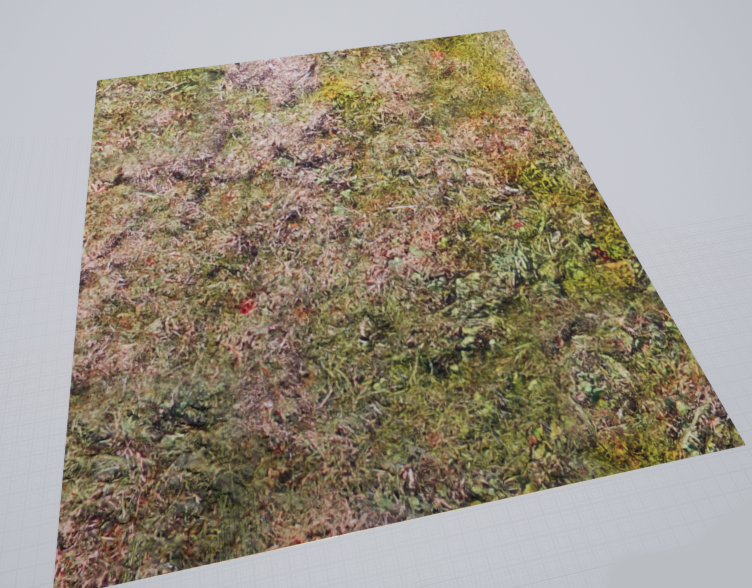
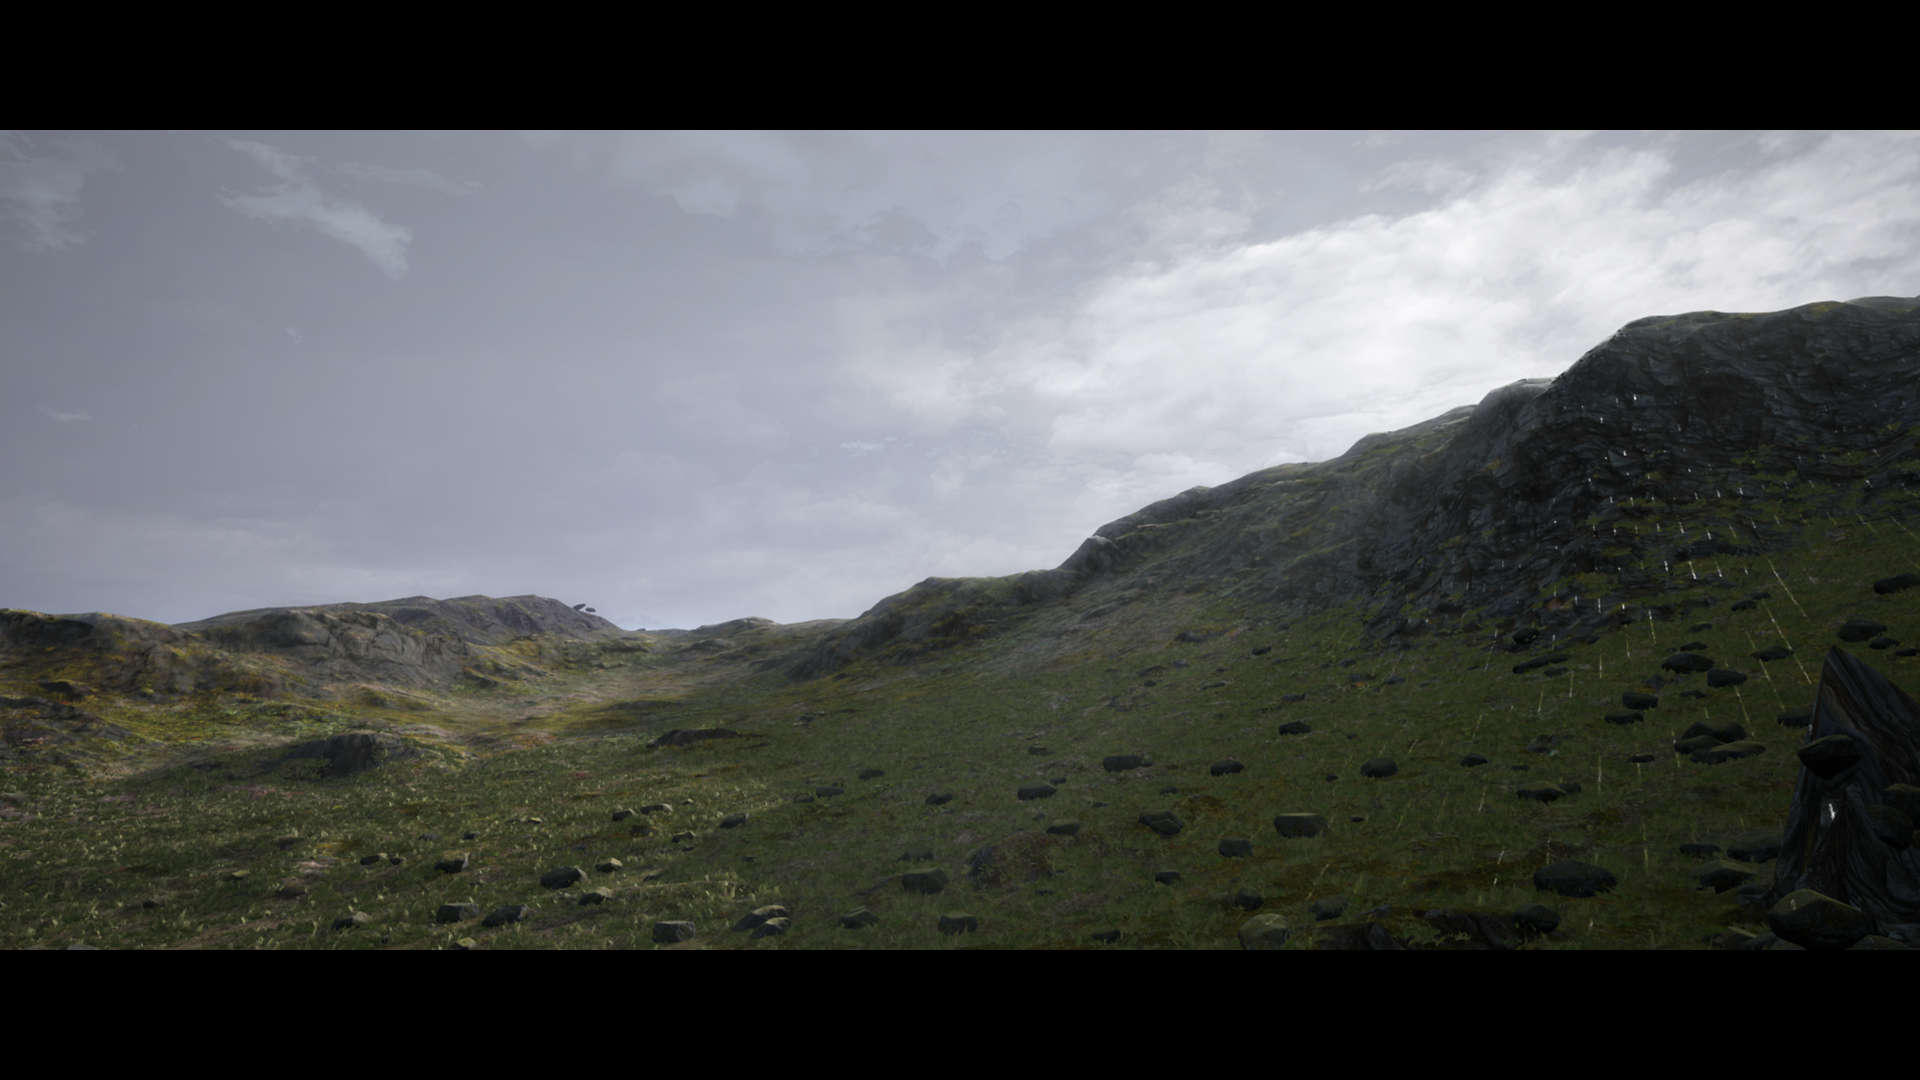
For the grass floor I used photogrammetry again to capture a meter square, I then baked, tiled and created a material instance to apply to the terrain.
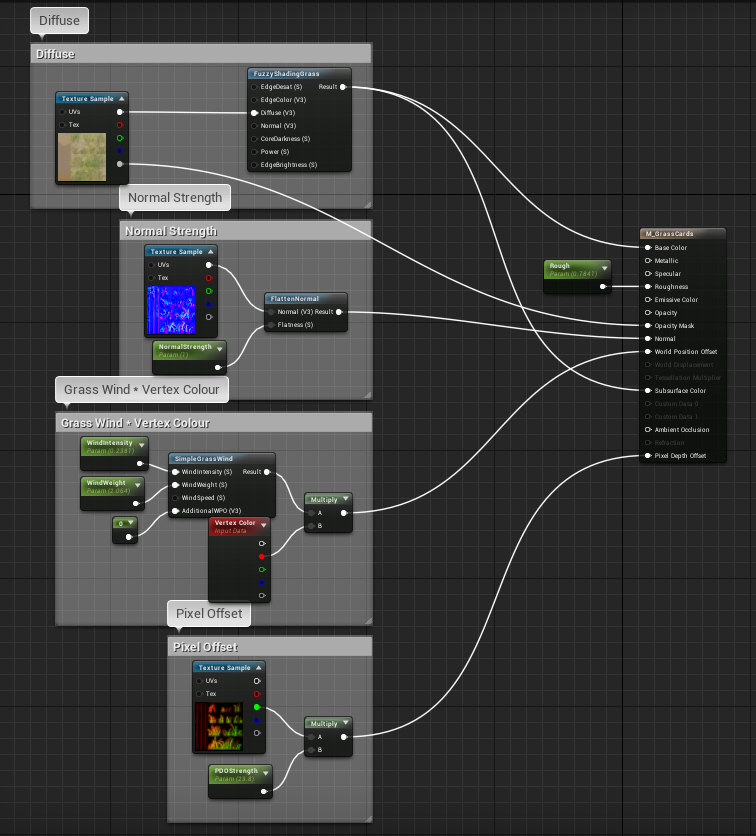
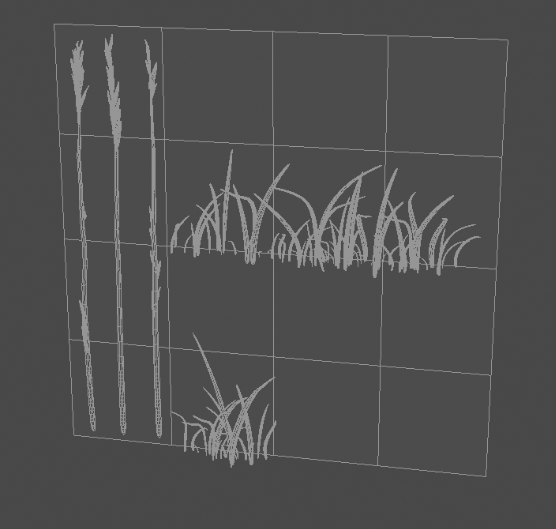
For the foliage, I modelled several grass variants along with some flyaway long pieces. I added the simple grass wind component to the shader and multiplied that by the vertex colour (which I coloured as a gradient from the ground up) to ground the mesh.
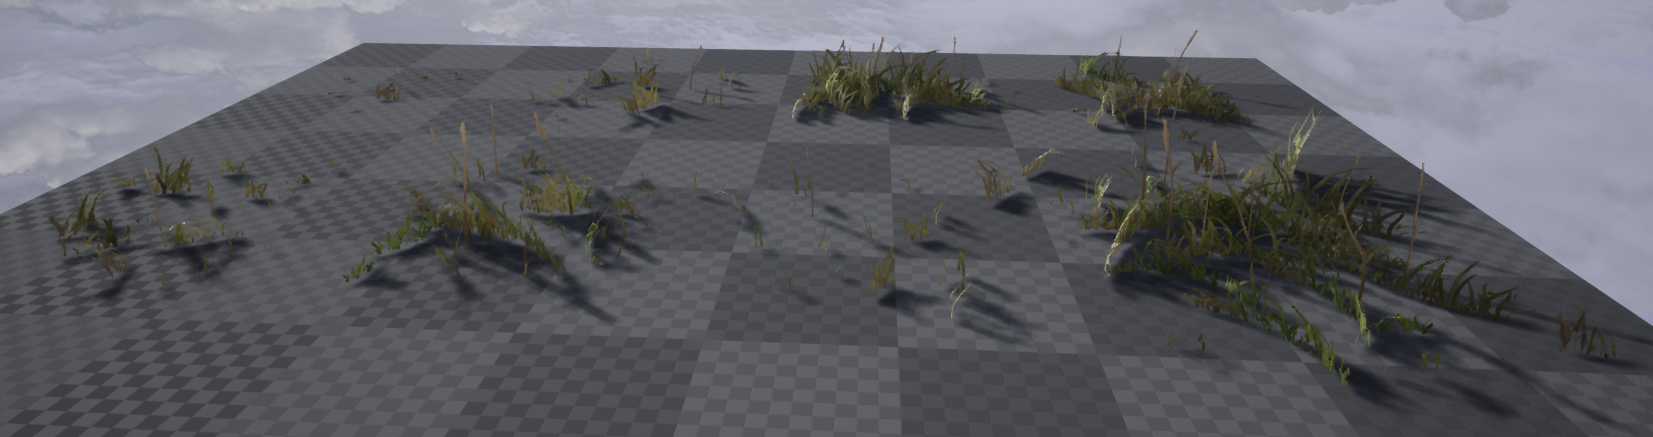
To scatter these assets I created a grass type and set it to the grass mask which I baked from World Machine.

Finally, I did some more work on the water shader so it blended more with the ground and created a whiter foam at the fissure.

Sky Dome
Day 6 (7 hours)
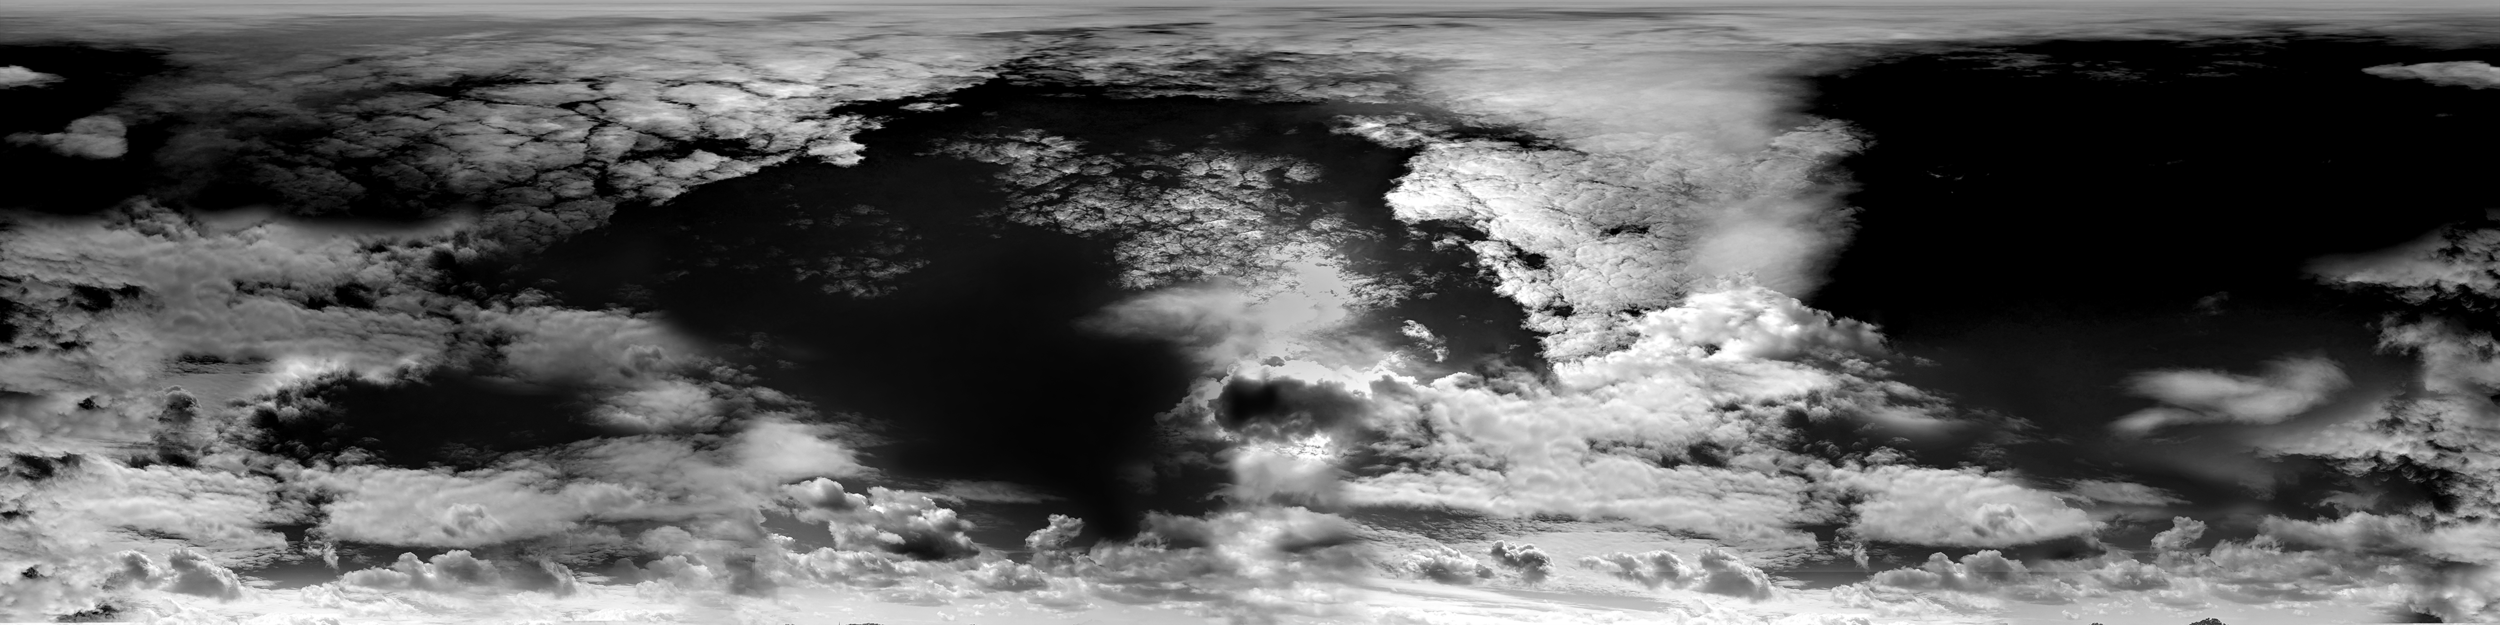
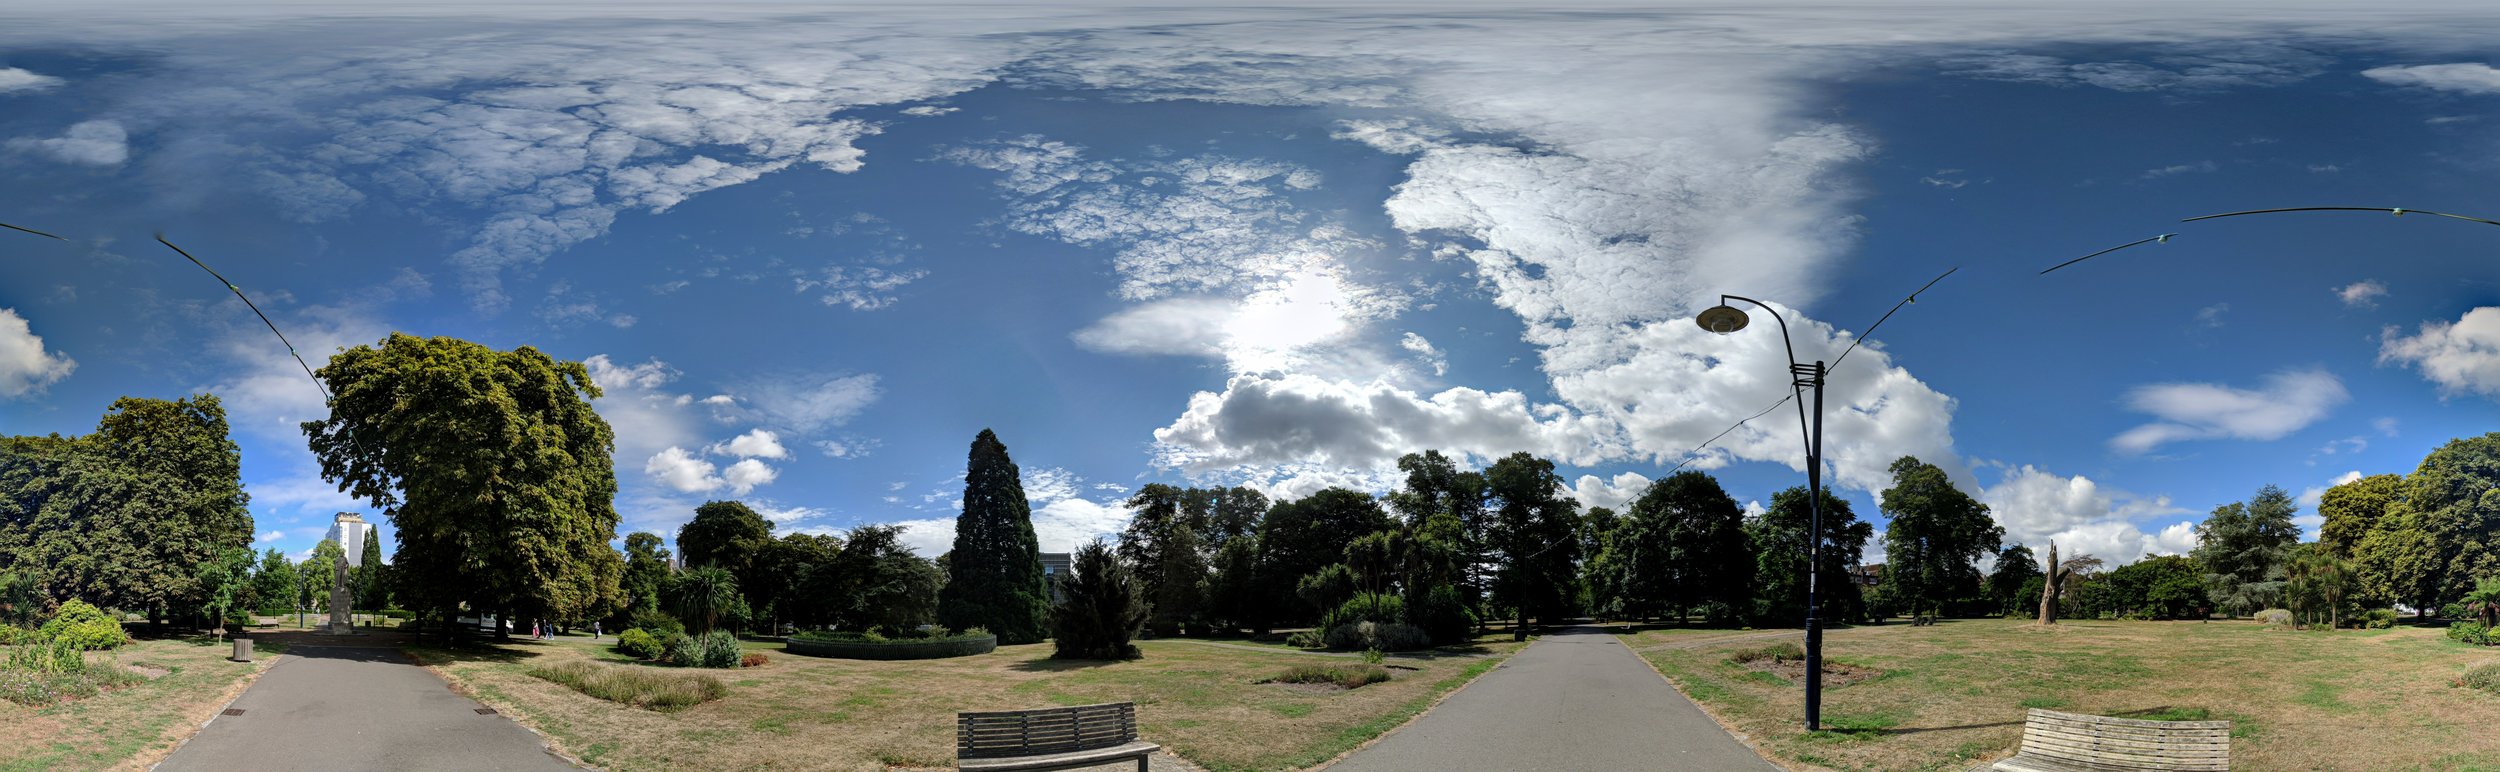
For the sky dome, I used my phone's spherical capture to create a rough skydome. Ideally I would have captured the original from a much higher vantage point but was unable to get to one in the time frame. Using other images of clouds, I Photoshoped out the park area and replaced it with more clouds.
Although the reference given was of a sunset, a darker and moodier skydome felt much more atmospheric and more tonally in-keeping with the fissure forming.
Water round 2
Day 7 (8 hours)
I added a water height blend to the terrain to better match the water plane, created a waters edge particle and adjusted the water shader to better fit the scale of the environment and added a foam overlay.
The scenes on there own were finally getting to a stage I was happy with, so my next step was work on better blending between them.


Shoreline Blueprint
Day 8 (4 hours)
To speed up placing the shoreline particle, I created a simple blueprint that spawns particles along a spline.
I also created a substance dirt material for the fissure pieces.

Editing and animation
Day 9 (6 hours)
Further work was done to the transitional animation so to better blend each stage together. I was still unhappy with the how the water moved up through the surface, it was far to uniform, lacked vertical movement and cohesion with the fissure. To optimise the final project I reduced the texture sizes using the maximum texture size control and switched the mesh instances from movable to static. Finally I exported the 2D capture.
Fissure animation without shake.
Fissure animation with shake.