UE4 Cel Shading (Post Process)
Advantages
- Casts shadows
- Receives shadows
- Uses standard UE4 lights
- Supports normal maps
Disadvantages
- Cel shades the entire scene
- Diffuse and normal only
- Expensive!
- Reflections/bloom/emisive will break the Post Process
- Must set materials to rough 1
- Exposure settings must be locked.
Prerequisites
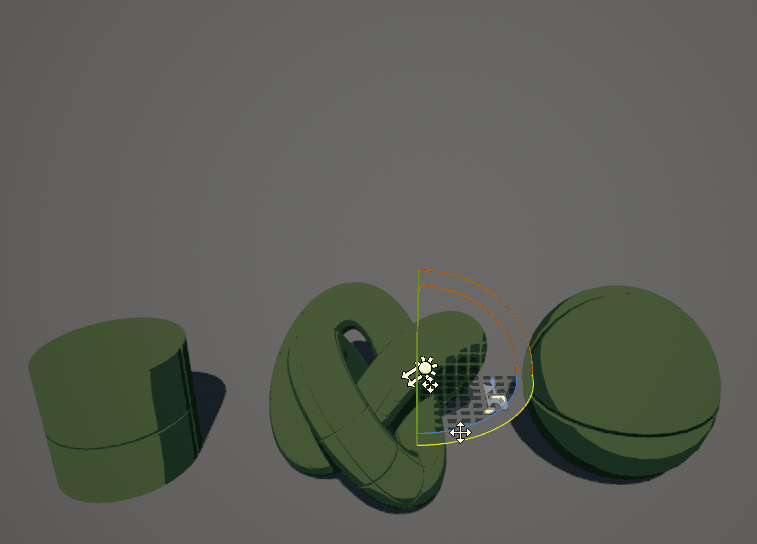
Any materials that go into this scene must have a roughness value of 1, a Metal value of 0 and a Emmisive value of 0.
Create a post process volume and set it to Unbound. Under Bloom set intensity to 0. Under Auto Exposure, set min and max brightness to 2.
An understanding of UV distortion and Post process materials is recommended.
How To

New Material Details Panel
Create a new material and open it. In the details tab, change the Material Domain to Post Process and under the Post Process Material tab change Blendable Location to Before Translucency.
Add your newly created material to the post process under Blendables.
Unreal Engine 4's post process Material doesn't have an accessible lighting channel so we need to hack one together!
Right click in the material editor and add two scene texture nodes. Set the first to PostProcessInput0 and the other to Diffuse Colour.


Divide PostProcessInput0 by the DiffuseColour to extract the lighting from the scene. Lighting must be grey-scale for this to be accurate so keep light colour white for best results. Finally mask the output by R.

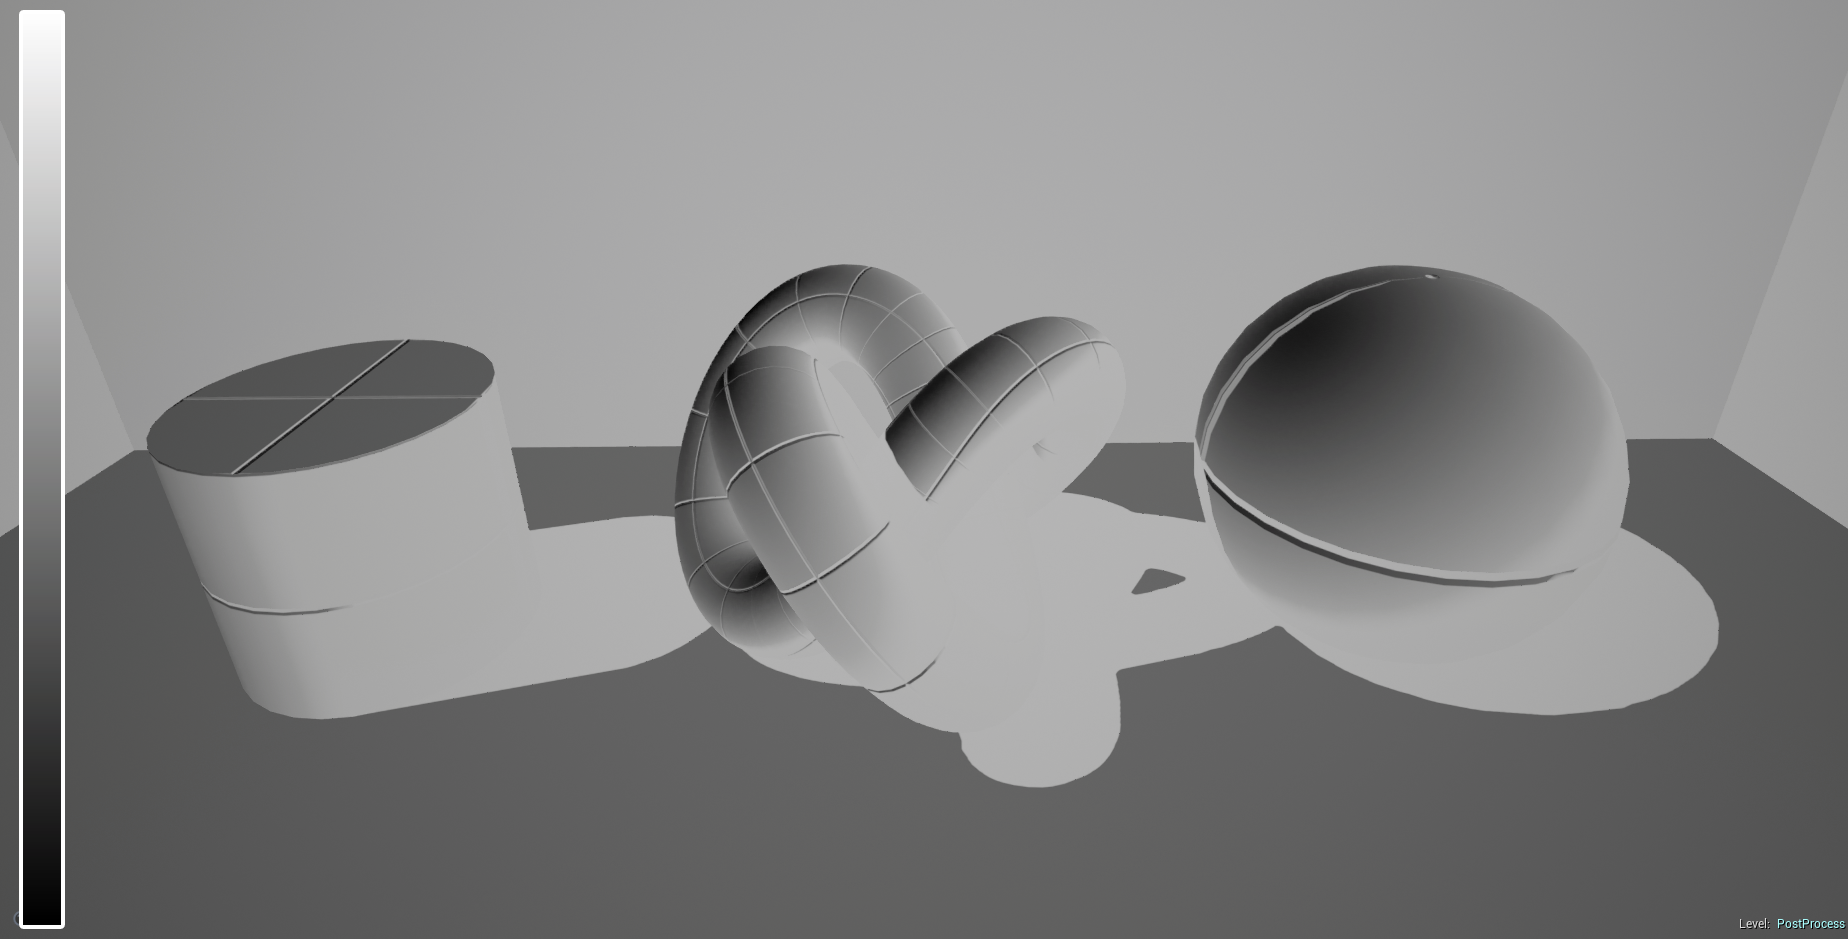
Scene with extracted lighting only
To band the lighting we will run the output through a textures UV's. The gradient of the lighting will act as a mapping coordinate for the texture, where black is the top pixel and white is the bottom pixel.
In photoshop create a texture that is 1(px) x 128(px). Paint the number of bands you want and in the colour you want it. Bellow are a few examples with the texture strip used on the left. This technique can be used to create a wide range of effects.


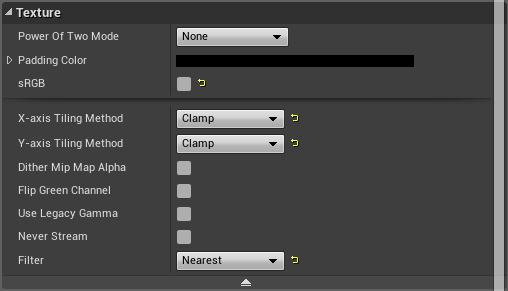
Import the texture into Unreal and open the settings panel for it. Under texture, untick SRGB, change the tiling method to Clamp and change the filter method to Nearest.
Bring the texture into your post process material and input your Mask (R) into its UV's.

Now we have the lighting banding in, all that's left is to reintroduce the diffuse. Mask out the Alpha of the diffuse colour and multiply the banded lighting by the diffuse.


That's all there is to it, I hope you found this quick guide to cel shading in Unreal Engine 4 useful. If you have any comments or questions, leave them in the section bellow.
If you would like to support Strangely Named Studio, check out our game Bears Can't Drift!?, out now on Steam!